Red Light Therapy After Microneedling: Enhance Your Results
Absolutely. Combining red light therapy after microneedling is one of the best things you can do for your skin. Think of it as a powerful one-two punch that speeds up healing, calms that post-treatment redness, and seriously boosts collagen for quicker, more noticeable results.
The two treatments work together beautifully, supercharging your skin's own repair mechanisms.
Why This Combination Works So Well
Microneedling and red light therapy are fantastic treatments on their own. But when you put them together, the results are truly impressive—far greater than what either could achieve alone.
I like to explain it this way: microneedling is like aerating a lawn, creating the perfect conditions for new growth. Red light therapy is the sunlight and high-quality fertilizer that makes the grass grow back thicker, greener, and stronger than before.
Speeding Up Your Skin's Healing Process
Microneedling works by creating thousands of tiny, controlled micro-injuries in the skin. This intentionally triggers your body's natural healing response, telling it to start building fresh collagen and elastin—the proteins that keep skin firm and youthful.
This is where red light therapy comes in. It penetrates the skin and works on a cellular level to energize your mitochondria, which are essentially the tiny batteries inside your cells. By giving these batteries a full charge, your skin has the energy it needs to repair itself much more efficiently.
What does that mean for you in practice? A whole lot less downtime. That tell-tale redness and minor swelling after a microneedling session fade away much faster, getting your skin back to looking its best in record time.
How Micro-Channels Pave the Way for Light
Those tiny channels created by the microneedling needles do more than just stimulate collagen. They temporarily bypass the skin's protective outer layer, making it much more receptive to what comes next. In fact, one study on microneedling's effects found that hair follicle openings can widen by about 47% post-treatment.
This enhanced permeability creates the perfect window of opportunity for red light to work its magic, stimulating the fibroblast cells responsible for collagen synthesis. It’s a perfect partnership that leads to more dramatic improvements in skin texture, firmness, and overall radiance.
Expert Tip: Pairing red light therapy with microneedling isn't just about soothing inflammation. It's an active step that amplifies the entire skin regeneration process, leading to better clinical outcomes.
To really see the difference, let’s quickly compare the two approaches side-by-side.
Microneedling vs Combined Therapy At A Glance
This table breaks down what you can typically expect from microneedling by itself versus the enhanced results you get when adding red light therapy to the mix.
| Benefit | Microneedling Alone | Microneedling + Red Light Therapy |
|---|---|---|
| Healing Time | 3-5 days of visible redness | 1-2 days of mild pinkness |
| Collagen Boost | Good, steady increase | Significantly enhanced production |
| Comfort Level | Mild discomfort, tightness | Reduced inflammation and sensitivity |
| Final Results | Visible improvement in texture | More profound, faster, and longer-lasting results |
As you can see, the synergy is undeniable. By adding red light, you’re not just recovering faster—you're actively building better skin from the ground up.
Ultimately, this combination targets skin renewal from two complementary angles. By making red light therapy a standard part of your post-microneedling care, you’re setting yourself up for a healthier, more resilient complexion. We cover even more ways this technology can help in our complete guide to red light therapy benefits.
Your Red Light Therapy Protocol After Microneedling
Knowing how to use red light therapy after microneedling is just as important as knowing why. A well-timed and correctly executed protocol ensures you get all the healing benefits without causing unnecessary irritation to your already sensitive skin. Let's walk through a practical playbook for your post-treatment care.
The first question I always get is about timing: should you use the light immediately or wait? It’s tempting to want to jumpstart the healing right away, but giving your skin a short grace period is often the best approach, especially after a professional-grade treatment.
Timing Your First Session Perfectly
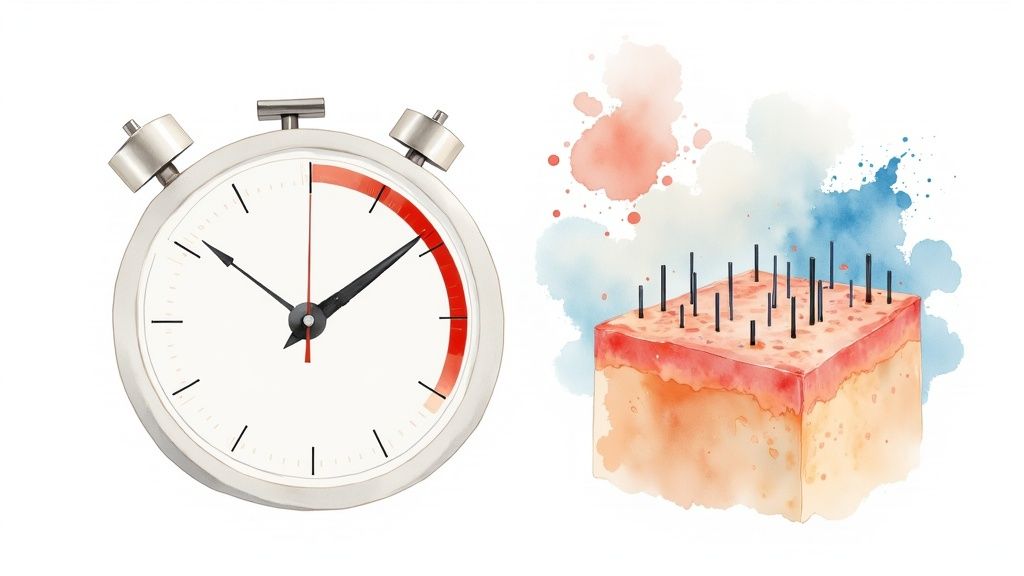
For the deeper, in-office microneedling sessions—we're talking needles longer than 0.5mm—it’s best to wait 24 to 48 hours before your first red light therapy session. This pause allows the initial, most intense phase of inflammation to calm down on its own. Applying light too soon can sometimes overstimulate skin that is already working overtime to repair itself.
Now, if you're doing gentler, at-home microneedling with shorter needles (0.25mm to 0.5mm), using red light therapy on the same day is generally fine. The micro-injuries are much more superficial, and the immediate calming effect of the light can be fantastic for reducing that initial pinkness.
This simple flow chart really clarifies the ideal timing after a professional treatment.

As you can see, a brief waiting period followed by consistent, short sessions is the key to getting the most out of your recovery and results.
Treatment Duration and Frequency
Once you're past that initial waiting period, you can begin your red light sessions. The goal here isn't to blast your skin with light for long periods. With light therapy, consistency is far more important than intensity.
Here’s a simple schedule that I've found works wonders:
- Session Length: Keep it to 10-15 minutes per treatment. This is the sweet spot for delivering an effective dose of light energy to your skin cells without causing any thermal stress.
- Initial Frequency: For the first week post-microneedling, daily sessions are excellent for managing inflammation and kicking the healing process into high gear.
- Ongoing Frequency: After that first week, you can dial it back to 3-5 times per week. This is perfect for maintaining the collagen-boosting momentum and supporting those long-term results you’re working toward.
The goal of using red light therapy after microneedling is to support and accelerate the natural healing cascade, not override it. Short, consistent sessions are proven to be more effective than infrequent, longer ones.
Key Steps for an Effective Session
To get the most out of each treatment, a little prep goes a long way. Following these steps ensures the light can actually penetrate your skin effectively to do its job.
First, start with a clean slate. Always use your red light therapy device on a freshly cleansed and completely dry face. Any leftover serums, moisturizers, or sunscreens can create a barrier that reflects the light, seriously diminishing its effectiveness.
Next, get your distance right. Position the device according to the manufacturer's instructions, which is typically 6 to 12 inches from your skin. This distance is crucial for optimal light irradiance—the amount of energy reaching your skin—without being too intense.
Finally, protect your eyes. While red light is generally safe, the light from high-quality devices can be incredibly bright. Don't skip this step: always wear the provided protective goggles to safeguard your eyes during your session.
By following this protocol, you can confidently and safely enhance the impressive microneedling benefits you’re seeking.
Choosing the Right Red Light Therapy Device
Let's be honest, not all red light therapy devices are created equal. This is especially true when your skin is in that sensitive, post-microneedling state. Picking a high-quality device is the key to getting those fantastic healing benefits without any guesswork. The market is absolutely flooded with options, but if you focus on a few key technical specs, you can easily cut through the noise.
The first and most important thing to look at is the wavelengths of light the device puts out. Different wavelengths reach different depths in the skin and do different jobs. For your post-microneedling recovery, you really want a device that offers both red and near-infrared (NIR) light.
Red Light (around 660nm): Think of this as your surface-level healer. It’s brilliant for reducing that initial inflammation and redness, helping to quickly close up the tiny micro-channels from your treatment.
Near-Infrared Light (around 850nm): This one is the deep diver. It penetrates way down into the dermal layers where the real magic happens. NIR is a powerhouse for waking up your fibroblast cells to produce new collagen and elastin, which supercharges the long-term firming and smoothing results you’re after.
A device that gives you both is the sweet spot. You get immediate calming on the surface and deep, structural repair underneath.
Power, Irradiance, and Device Style
Once you’ve nailed down the wavelengths, the next spec to check is irradiance. This is basically the device's power density, measured in mW/cm², and it tells you how much light energy is actually hitting your skin. A device with a weak irradiance just won't be effective, no matter how long you sit in front of it. My advice? Stick with reputable brands that are upfront about their power output.
You'll also need to decide on the style of device that fits your life best. Each one has its own pros and cons for post-microneedling care.
Full-Face Masks: These are incredibly convenient. You just pop it on, and it’s completely hands-free. They also give you perfect, even coverage across your entire face, which is exactly what you want for consistent healing.
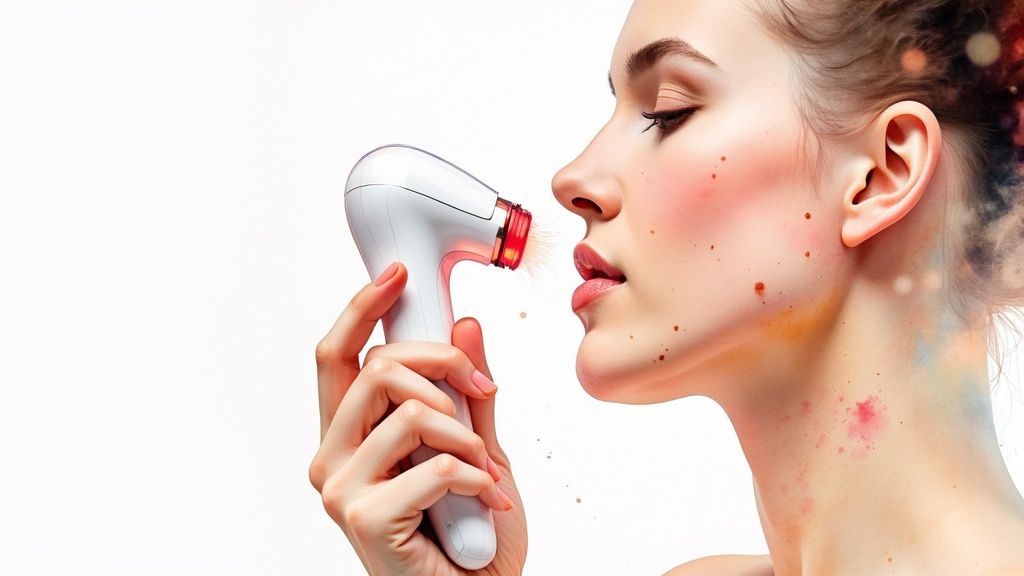
Handheld Wands: A wand can be great if you're looking to target specific spots, like a stubborn acne scar or a few deeper lines. The downside is that it takes more time and effort to treat your whole face evenly.
Large Panels: While these are often very powerful, they’re really designed for treating larger areas of the body. For facial recovery after microneedling, a big panel is probably overkill.
For most people I talk to, a well-made LED mask hits that perfect balance of convenience and effectiveness for this specific use.
It's not just hype; the results speak for themselves. In patient-reported outcomes, over 90% of participants saw significant improvements like softer skin and less inflammation when they added red light therapy to their microneedling routine. This lines up perfectly with clinical data showing a real decrease in skin roughness. For a deeper dive, Stanford Medicine offers an insightful overview on the benefits of red light therapy.
At the end of the day, if you choose a device from a trusted brand that delivers the right wavelengths and has a solid power output, your investment will absolutely pay off. It’s what turns good microneedling results into truly great ones.
Building Your Complete Microneedling Aftercare Routine
While red light therapy after microneedling is a fantastic tool for speeding up recovery, it really shines when it’s part of a complete aftercare plan. Think of it this way: RLT is your star player, but it needs a solid team of supporting products to truly deliver those amazing results.
After microneedling, your skin is incredibly receptive and a bit vulnerable. What you put on it—and what you don't—in the hours and days that follow makes all the difference. The goal is simple: calm, hydrate, and protect. This creates the ideal environment for all that new collagen to start building.
Your Post-Treatment Timeline
The first week post-treatment is when the magic really happens. Your skin is busy repairing those tiny micro-channels, so your routine needs to be gentle, consistent, and stripped back to the essentials. This is absolutely not the time to be trying out that new acid toner or potent vitamin C serum.
Here’s what your core aftercare toolkit should look like:
- A Gentle Cleanser: Stick with something soap-free and pH-balanced. Use lukewarm water only to avoid irritating your skin’s delicate barrier.
- Hyaluronic Acid Serum: This is your hydration hero. As a humectant, it pulls moisture deep into the skin, keeping it comfortable and plump. I always recommend applying it to slightly damp skin to maximize its effects.
- A Calming Moisturizer: Your moisturizer should be focused on barrier repair. Look for ingredients like ceramides, peptides, or niacinamide to soothe inflammation without clogging your pores.
- Mineral Sunscreen: This is non-negotiable. Your freshly treated skin is extremely vulnerable to sun damage. A physical (mineral) sunscreen with zinc oxide or titanium dioxide and an SPF of 30 or higher is essential every single day, even if you’re staying indoors.
A well-structured aftercare plan protects your investment. It's what stands between good results and great results, minimizing inflammation and preventing complications like post-inflammatory hyperpigmentation.
Sample 3-Day Post-Microneedling Aftercare Schedule
To make things crystal clear, here’s a simple schedule I give my clients for the first 72 hours. This timeline shows you exactly where to slot in your red light therapy sessions so that every step supports the next. This schedule is all about healing and protection.
For an even more in-depth look at long-term care, check out our full guide on microneedling aftercare instructions that actually work.
| Time of Day | Day 1 (Immediately Post-Treatment) | Day 2 | Day 3 |
|---|---|---|---|
| Morning | Gentle Cleanse, Hyaluronic Acid, Mineral SPF 30+ | Gentle Cleanse, Hyaluronic Acid, Mineral SPF 30+ | Gentle Cleanse, Hyaluronic Acid, Mineral SPF 30+ |
| Evening | Gentle Cleanse, RLT Session (10-15 min), Hyaluronic Acid, Calming Moisturizer | Gentle Cleanse, RLT Session (10-15 min), Hyaluronic Acid, Calming Moisturizer | Gentle Cleanse, RLT Session (10-15 min), Hyaluronic Acid, Calming Moisturizer |
By sticking to this simple plan, you’re giving your skin precisely what it needs to heal beautifully. After these first 72 hours, you can continue this basic routine for the rest of the week. Hold off on reintroducing any of your stronger active ingredients until all redness and sensitivity have completely subsided.
Common Mistakes to Avoid After Your Session
Pairing red light therapy with microneedling is a fantastic way to boost your results, but a few common slip-ups can easily sabotage your efforts or cause unnecessary irritation. Let's walk through what not to do so your skin heals perfectly without any hiccups.
One of the biggest mistakes I see is people simply overdoing it. It's so tempting to think more is better—that a longer red light session will fast-track your healing. In reality, the opposite is often true.
Pushing past the recommended 10-15 minute window won't supercharge your results. Instead, it can overwhelm your already-sensitive skin, which might actually increase redness and delay the beautiful, calm complexion you're aiming for.
Keep It Clean, Keep It Safe
This might sound obvious, but hygiene is everything here. After microneedling, your skin is essentially a grid of tiny, open channels, making it a prime target for bacteria.
Think about it: applying a grimy LED device to your vulnerable face is a recipe for breakouts or, worse, an infection. Always, always make sure your device is thoroughly disinfected and your face is freshly cleansed before you start.
And on the subject of safety—your eyes. The LEDs in a quality device are seriously powerful. Direct exposure can cause long-term damage. Those little protective goggles that come with your device? They aren't optional. Wear them every single time. No excuses.
The success of this treatment combo really boils down to following the right protocol. Stick to the safety basics, and you'll get all the healing benefits without any of the frustrating side effects.
It’s also crucial to consider what else you’re putting on or in your body. Certain medications, both topical and oral, can make your skin extra sensitive to light. This includes some common antibiotics and powerful acne treatments like isotretinoin.
When in Doubt, Ask an Expert
Before you dive into any new at-home treatment—especially when your skin barrier is compromised—it's always a smart move to chat with your dermatologist or a trusted esthetician.
They can look at your full skincare lineup and health history to spot any potential red flags you might not even know exist. This step is non-negotiable if you're managing sensitive skin, rosacea, or other chronic skin conditions.
The good news is that this combination has a great safety track record. For instance, a 2019 study on a similar combined therapy showed participants handled it incredibly well, reporting low pain scores and zero adverse effects by the end of the trial. If you want to dive into the data, you can read the full clinical study here.
By sidestepping these common blunders, you’re setting yourself up for the same kind of safe and impressive results.
Got Questions? We've Got Answers
When you're combining powerful treatments like microneedling and red light therapy, it's natural to have questions. Let's walk through some of the most common ones I hear from clients, so you can move forward with total confidence.
Can I Really Use Red Light Therapy Right After Microneedling at Home?
Yes, for the most part. If you're using a home microneedling device with shorter needles—think 0.25mm to 0.5mm—the tiny channels you create are quite superficial. In this case, hopping under a quality LED panel right after your session is a fantastic move. It immediately starts calming that initial flush of redness and gives your skin's healing process a head start.
The one non-negotiable rule? Your skin must be completely clean before you shine the light on it.
Now, if you've had a professional treatment with deeper needles, that's a different story. Your practitioner knows your skin best, and you absolutely must follow their specific advice. They'll likely tell you to wait at least 24 hours before doing any light therapy.
What Kind of Results Should I Actually Expect?
Think of red light as an amplifier for everything you love about microneedling. You’ll see that the usual redness and slight puffiness fade much, much faster—often within the first 24 to 48 hours. This makes your recovery period way more manageable.
Looking at the bigger picture, the long-term benefits are where this combo really shines. You can expect a more noticeable improvement in skin texture, a real boost in firmness, and a more even, glowing complexion. This power couple is also brilliant for tackling stubborn fine lines and acne scars more effectively than either treatment could alone. The results build on each other, so your skin will look better and better with each session.
How Can I Tell if the Red Light Is Doing Its Job?
You'll see signs pretty quickly, both right away and over the long haul. In the short term, the proof is in the calm. Your skin will just feel less irritated, and that post-microneedling redness will be visibly toned down from day one.
Over the next few weeks, the real magic happens. You'll notice your skin just seems to bounce back faster and look healthier than it did with microneedling by itself. The glow is more intense, the texture feels smoother, and the overall improvements are just more impressive. That's how you know the synergy is working for you.
The single clearest sign that red light therapy is working its magic? The dramatic cut in downtime. When your skin looks and feels less angry right from the start, you can get back to your life and enjoy the microneedling benefits without the wait.
Are There Any Skincare Products I Should Steer Clear of?
Absolutely, and this is critical. After microneedling, your skin is wide open and incredibly sensitive. For at least the first 48-72 hours, you need to shelve anything harsh or active.
That means a temporary ban on:
- Retinoids (like Retin-A or retinol)
- Vitamin C serums
- Exfoliating acids (think glycolic, lactic, and salicylic acid)
- Any kind of physical scrub or exfoliant
And here’s a pro tip: always, always do your red light therapy on clean, bare skin. If you apply serums or creams before the light, they can act as a barrier and block the light from getting where it needs to go, basically wasting your time. Save your gentle, soothing products—like a simple hyaluronic acid serum or a calming moisturizer—for after the light session is finished.
At Olive Skin Therapy, we've seen firsthand how integrating advanced treatments like red light therapy elevates microneedling results. To get the best outcome, you need a plan tailored to your unique skin. Book your personalized consultation with us today and let's start your journey toward your healthiest, most radiant skin.