Red Light Therapy After Microneedling Guide
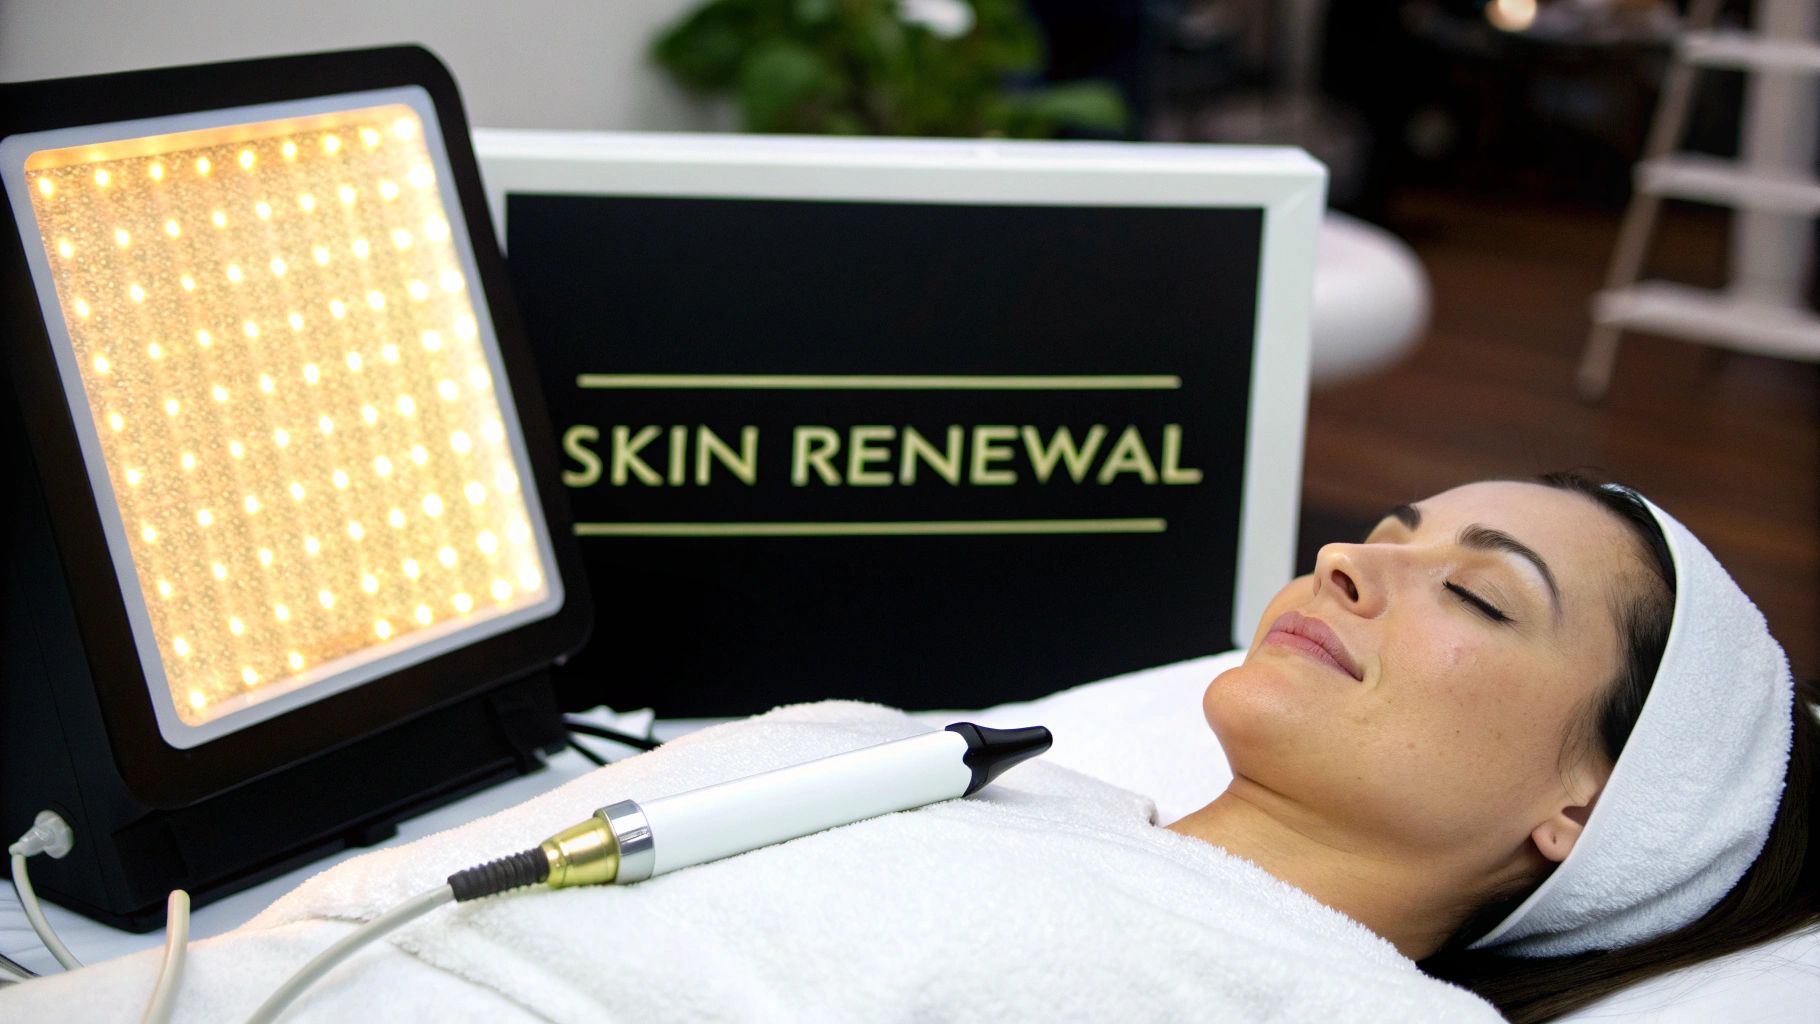
Here’s the simple truth: combining red light therapy after microneedling isn't just a trend; it's one of the best things you can do for serious skin rejuvenation. Think of it this way: microneedling creates tiny, controlled channels in the skin to kickstart collagen production. Then, red light therapy comes in and acts like a supercharger for your body's natural healing, which can dramatically cut down your recovery time and boost your results.
Why This Combination Works So Well
I like to explain microneedling as aerating a lawn—it creates the perfect conditions for new, healthy growth. The procedure intentionally triggers your body’s wound-healing response, signaling it to build back better with fresh, strong collagen. It's incredibly effective on its own, but that initial healing phase always comes with some redness and inflammation.
This is where adding red light therapy creates such a powerful synergy. Instead of just waiting for the inflammation to go down on its own, you get to actively manage it and speed things along.
Red light therapy essentially gives your skin cells a direct dose of energy, helping them repair themselves far more efficiently. It has a remarkable ability to calm that initial post-procedure irritation and swelling, often within just a few hours, making your recovery much smoother and more comfortable.
This one-two punch is recognized by skin experts worldwide as a safe and highly effective approach. Microneedling gets the healing process started, and red light therapy accelerates it by stimulating your cells' mitochondria and boosting collagen synthesis. Clinically, this translates to less post-treatment swelling, a faster recovery, and visibly firmer skin.
This dual approach offers some standout advantages:
- Faster Recovery: It significantly cuts down the typical redness and swelling you see after microneedling. You’ll be back to your normal routine much quicker.
- More Collagen: The two treatments work in tandem to maximize the creation of new collagen and elastin, leading to skin that feels firmer and looks smoother.
- Better Results: By supporting your skin's healing from the get-go, red light therapy helps you achieve more noticeable and lasting improvements in skin texture and tone.
And it’s not just for anti-aging. The anti-inflammatory properties are fantastic for helping manage breakouts, too. If you're curious about how that works, you might want to check out our detailed guide on using red light therapy for acne.
How Light and Needles Work Together on a Cellular Level
To really get why combining red light therapy with microneedling is such a game-changer, you have to look at what’s happening deep beneath the skin’s surface. This isn't just about doing two treatments back-to-back. It's more like a carefully choreographed duet where each partner makes the other better, right down to the cellular level.
I like to think of microneedling as expertly aerating a lawn. The treatment creates thousands of tiny, controlled micro-injuries, which is the signal your body needs to kickstart its natural wound-healing process. This sends your skin into overdrive, clearing out old, damaged tissue and getting ready to build something new and better in its place.
And that's precisely where using red light therapy after microneedling works its magic.
Fueling Your Skin's Repair Crew
Red light therapy, technically called photobiomodulation, is like giving that freshly prepped skin the perfect, nourishing fuel. It delivers specific wavelengths of light that penetrate deep into the skin's layers without causing any harm.
This light energy gets absorbed by the mitochondria—the little powerhouses inside every single one of your cells. The absorption supercharges them, ramping up the production of a molecule called Adenosine Triphosphate, or ATP.
ATP is the basic energy currency for all cellular activity. When your cells have more ATP, they have more fuel to do their jobs—like repairing damage and building new tissue—far more effectively.
So, microneedling essentially tells your fibroblast cells (the tiny factories that produce collagen and elastin) to get to work. Red light therapy then hands them a massive energy drink so they can carry out those orders at peak performance.
This targeted energy boost has a few key benefits for your healing skin:
- Faster Recovery: With a surplus of ATP, your cells can repair the micro-channels from microneedling much quicker. For you, this means less downtime and a lot less visible redness.
- Better Collagen: Those supercharged fibroblasts don't just work faster; they work smarter. They produce higher-quality collagen and elastin, leading to more dramatic, lasting improvements in skin firmness and texture.
- Calmer Skin: Red light is a well-documented anti-inflammatory. It helps soothe the initial inflammation from microneedling, which is a necessary part of the healing process, but prevents it from lingering and getting in the way of great results.
Creating the Perfect Healing Environment
The reason this combination is so powerful is that it optimizes every single stage of the healing process started by microneedling. The growth factors released by the needling get a massive boost from the cellular energy supplied by the light therapy.
In fact, some studies show that this combination can increase new collagen and elastin fibers by up to 400% six months after a treatment series. This isn't just about healing faster; it's about fundamentally improving the quality of the new skin your body creates.
The end result is a smoother, firmer, and more resilient complexion that you simply couldn't achieve with either treatment on its own. By pairing these two, you're creating the absolute ideal biological environment for skin rejuvenation.
Your Post-Microneedling Red Light Therapy Protocol
Alright, so you understand why red light therapy is a fantastic partner for microneedling. Now, let's get into the how. Nailing the protocol is what separates good results from truly incredible ones. This isn't a rigid, one-size-fits-all plan, but following a smart, field-tested playbook will make sure you're helping your skin heal safely and effectively.
The Critical Timing for Your First Session
When it comes to your first post-microneedling session, timing is everything. Immediately after your treatment, your skin is in overdrive, working hard to repair itself. You want to jump in and support that natural healing process right away.
The sweet spot for your first red light therapy session is within a few hours of your treatment, or at the very latest, within the first 24 hours. Starting this early helps get a handle on the initial inflammation, which means less redness and swelling right from the get-go. Think of it as calling in immediate reinforcements for your skin's repair crew.
The image below gives you a great visual of what this healing journey looks like when you add red light therapy into the mix.
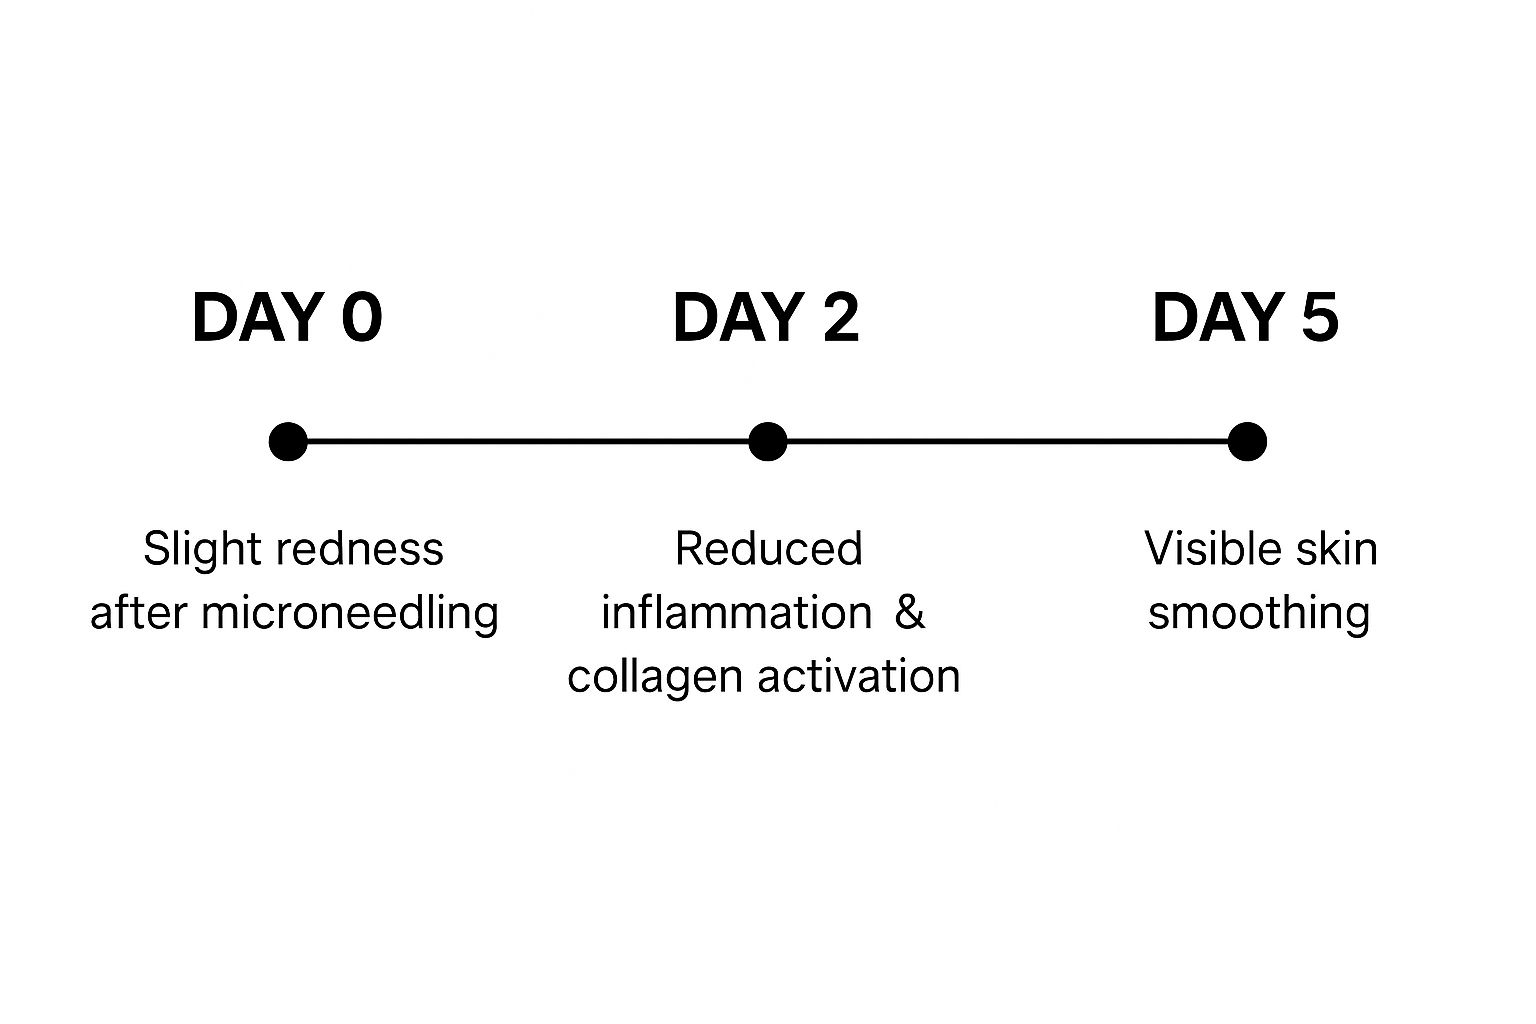
As you can see, this protocol can help your skin move from that initial post-procedure redness to a visibly smoother and calmer state in just a handful of days.
To give you a clearer picture, here’s a quick-reference guide for how to schedule your sessions in the days and weeks that follow.
Post-Microneedling Red Light Therapy Timeline
| Timeframe | Recommended Action | Key Goal |
|---|---|---|
| Day 0-1 | One 10-20 minute session within 24 hours of treatment. | Calm inflammation, reduce redness, and kickstart healing. |
| Day 2-7 | One 10-20 minute session daily. | Accelerate skin repair and minimize downtime. |
| Week 2-4 | One 10-20 minute session, 3-5 times per week. | Support and boost new collagen and elastin production. |
This simple timeline ensures you're giving your skin the right support at the right time, transitioning from intensive healing to long-term rejuvenation.
Setting Up Your Session for Success
Once you’re in that ideal window, a few key settings will ensure your session is both therapeutic and completely safe. Getting these details right makes all the difference.
Here’s what I recommend for your post-microneedling sessions:
- Session Duration: Stick to 10 to 20 minutes. In this case, longer isn't better. Consistency is what really drives results.
- Device Distance: Position the device about 6 to 12 inches from your skin, or whatever distance the manufacturer recommends. This ensures your skin gets the optimal dose of light without any uncomfortable heat.
- Frequency: Daily sessions are perfect for the first week to really maximize the anti-inflammatory and healing benefits. After that first week, you can dial it back to 3-5 times per week to keep stimulating that all-important collagen.
A quick pro-tip: You should only feel a gentle, pleasant warmth on your skin. If you feel any stinging or noticeable heat, you’re either too close to the device or the session is too long. Simply pull back a bit or shorten the time.
Choosing the Right Light: Why Wavelengths Matter
Not all light therapy is the same. To get those powerful, synergistic benefits, you need a device that uses specific, clinically-proven wavelengths of light. For this purpose, you’ll want a device that offers both red and near-infrared (NIR) light.
Here's why you need both:
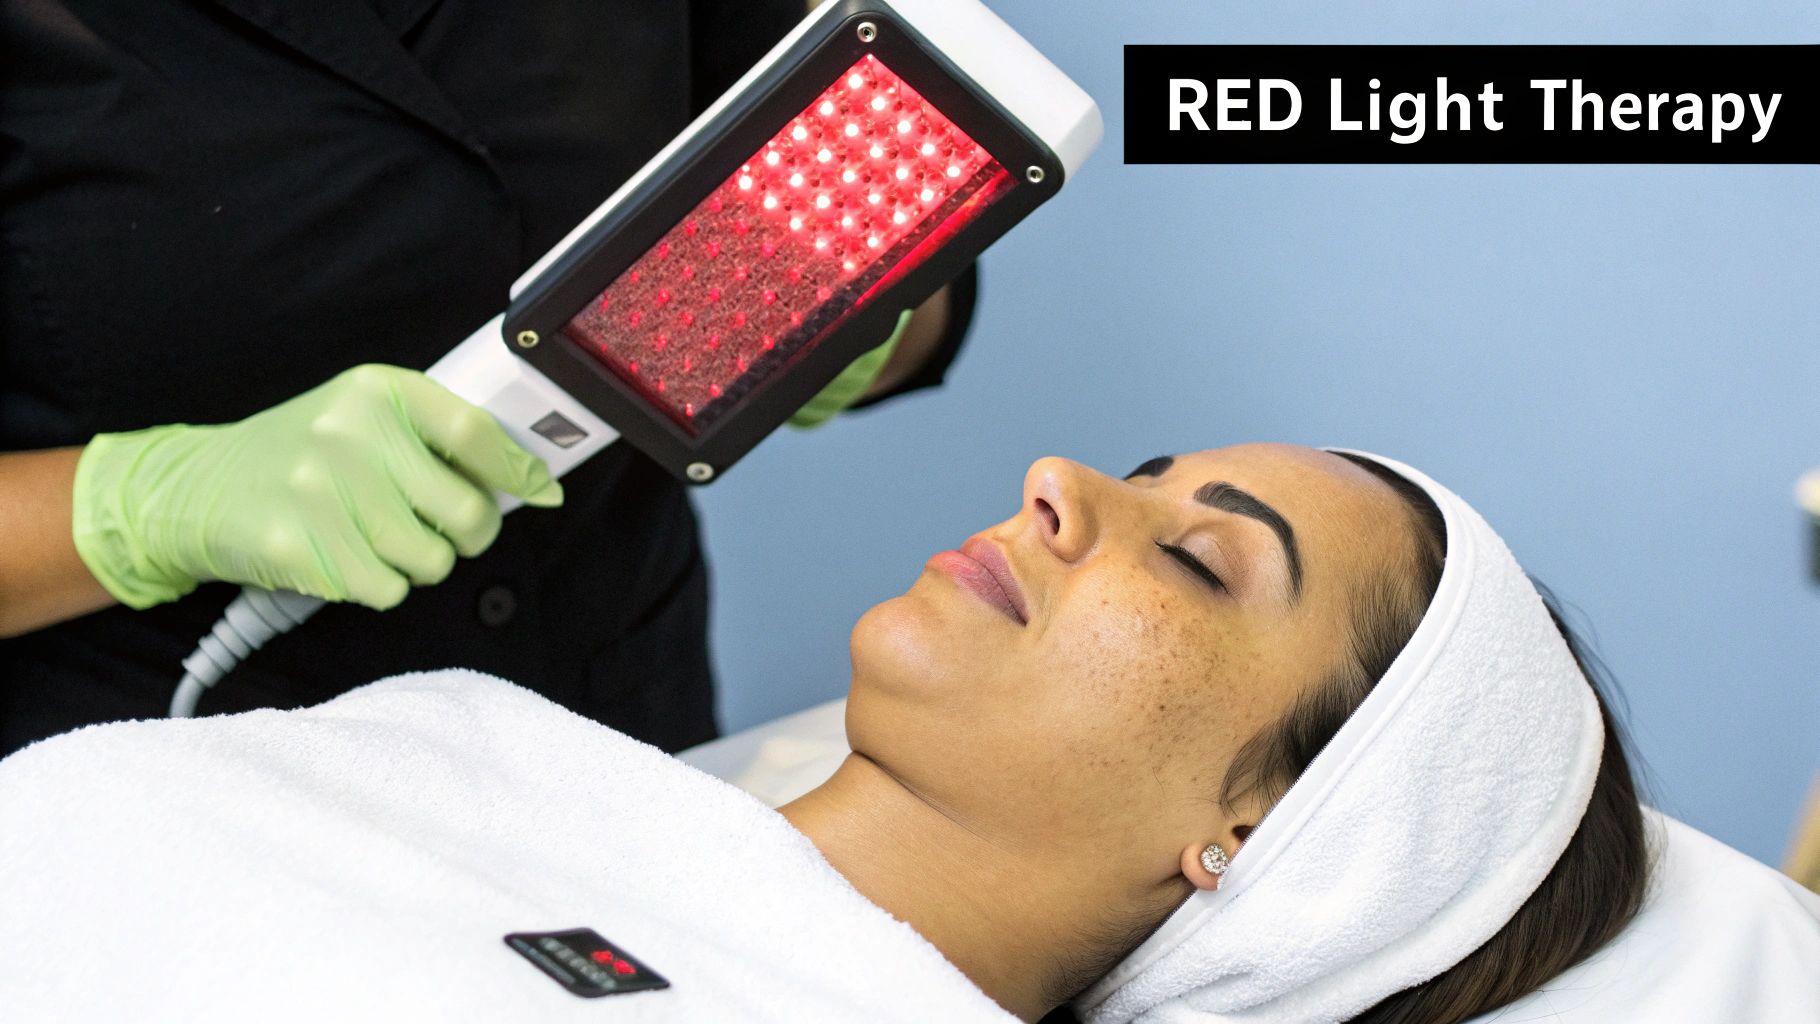
- Red Light (around 660nm): This wavelength works closer to the skin’s surface. It’s brilliant for speeding up the healing of those tiny microchannels, calming redness, and improving your overall skin tone.
- Near-Infrared Light (around 850nm): This is the deep diver. NIR penetrates further into the skin’s tissues to activate the fibroblast cells responsible for creating new collagen and elastin. This is what leads to firmer, plumper skin over time.
Using these two wavelengths together is like a one-two punch for your skin—it addresses healing at the surface while promoting deep rejuvenation from within.
Of course, red light therapy is a powerful tool in your recovery, but it doesn’t replace the non-negotiable rules of aftercare. For a complete blueprint on what to do (and what to avoid), check out our guide to microneedling aftercare instructions that actually work. Proper aftercare is the foundation, and these advanced therapies are how you build something truly amazing on top of it.
Maximizing Results and Avoiding Common Mistakes
You’ve got the basic protocol down. That's the first big step. Now, let's get into the nitty-gritty details that really separate good results from great ones when using red light therapy after microneedling. The care you take during this delicate healing window is every bit as important as the treatments themselves.
Right after a microneedling session, your skin barrier is wide open. This makes it incredibly absorbent, which is great, but also very susceptible to irritation. Your number one job is to help it heal without causing any setbacks.
Fine-Tuning Your Aftercare Routine
What you put on your skin during that first week is absolutely critical. This isn't the moment to try new products or get aggressive with your routine. Your focus should be entirely on gentle, hydrating, and soothing ingredients.
A simple hyaluronic acid serum is your best friend here. It pulls moisture deep into the skin without clogging those fresh micro-channels. Lock it all in with a basic, fragrance-free moisturizer to protect your skin's healing barrier.
The biggest mistake I see clients make is jumping back into their old skincare routine way too soon. For at least a week—sometimes more, depending on how your skin feels—you have to steer clear of a few things:
- Harsh Actives: That means no retinoids (like retinol or tretinoin), no potent vitamin C serums, and definitely no exfoliating acids like AHAs (glycolic) or BHAs (salicylic).
- Physical Scrubs: Don't even think about it. Any kind of manual exfoliation will be far too harsh and can cause serious irritation and damage.
- Heavy Makeup: Try to give your skin a few days to breathe. Heavy foundations can trap bacteria and clog the very channels you're trying to heal.
Avoiding Common Red Light Therapy Errors
Even with a top-notch device, it's easy to make mistakes that can undermine your results. Let’s talk about the common slip-ups people make with their red light sessions post-microneedling.
The first is simply overdoing it. I get the enthusiasm, but more isn't better. Longer or more frequent sessions can actually stress out your skin. Stick to the recommended 10-20 minute sessions daily for that first week.
Another frequent issue is incorrect distance. Placing the light panel right up against your face can generate too much heat on freshly treated skin, which can lead to more redness and irritation. Keep the device at the recommended 6-12 inches away. You should feel a gentle, pleasant warmth, not heat.
The goal is to energize your cells, not to cook your skin. Proper distance delivers the right dose of light energy without adding thermal stress, which is exactly what your skin needs to calm down and recover quickly.
Finally, let's talk about consistency. Hitting your skin with red light therapy once or twice just won't cut it. The real magic comes from the cumulative effect of daily sessions, especially in that critical first week. Think of it like a daily multivitamin for your healing skin—you wouldn’t skip doses and expect the full benefit. Committing to this schedule is the surest way to see that enhanced collagen production and achieve smoother, firmer skin.
Why Bother? The Real-World Benefits and Safety
So, is adding red light therapy to your microneedling routine really worth the extra step? Based on what I've seen in practice and what the science shows, the answer is a resounding yes. It's not just about a little boost; it’s about fundamentally changing your recovery and supercharging your results.
When you use red light therapy after microneedling, you’re actively speeding up the healing process. That means way less redness and swelling, which translates to significantly less downtime. Instead of hiding out for a few days waiting for your skin to calm down, you can soothe it almost instantly and get back to your life.
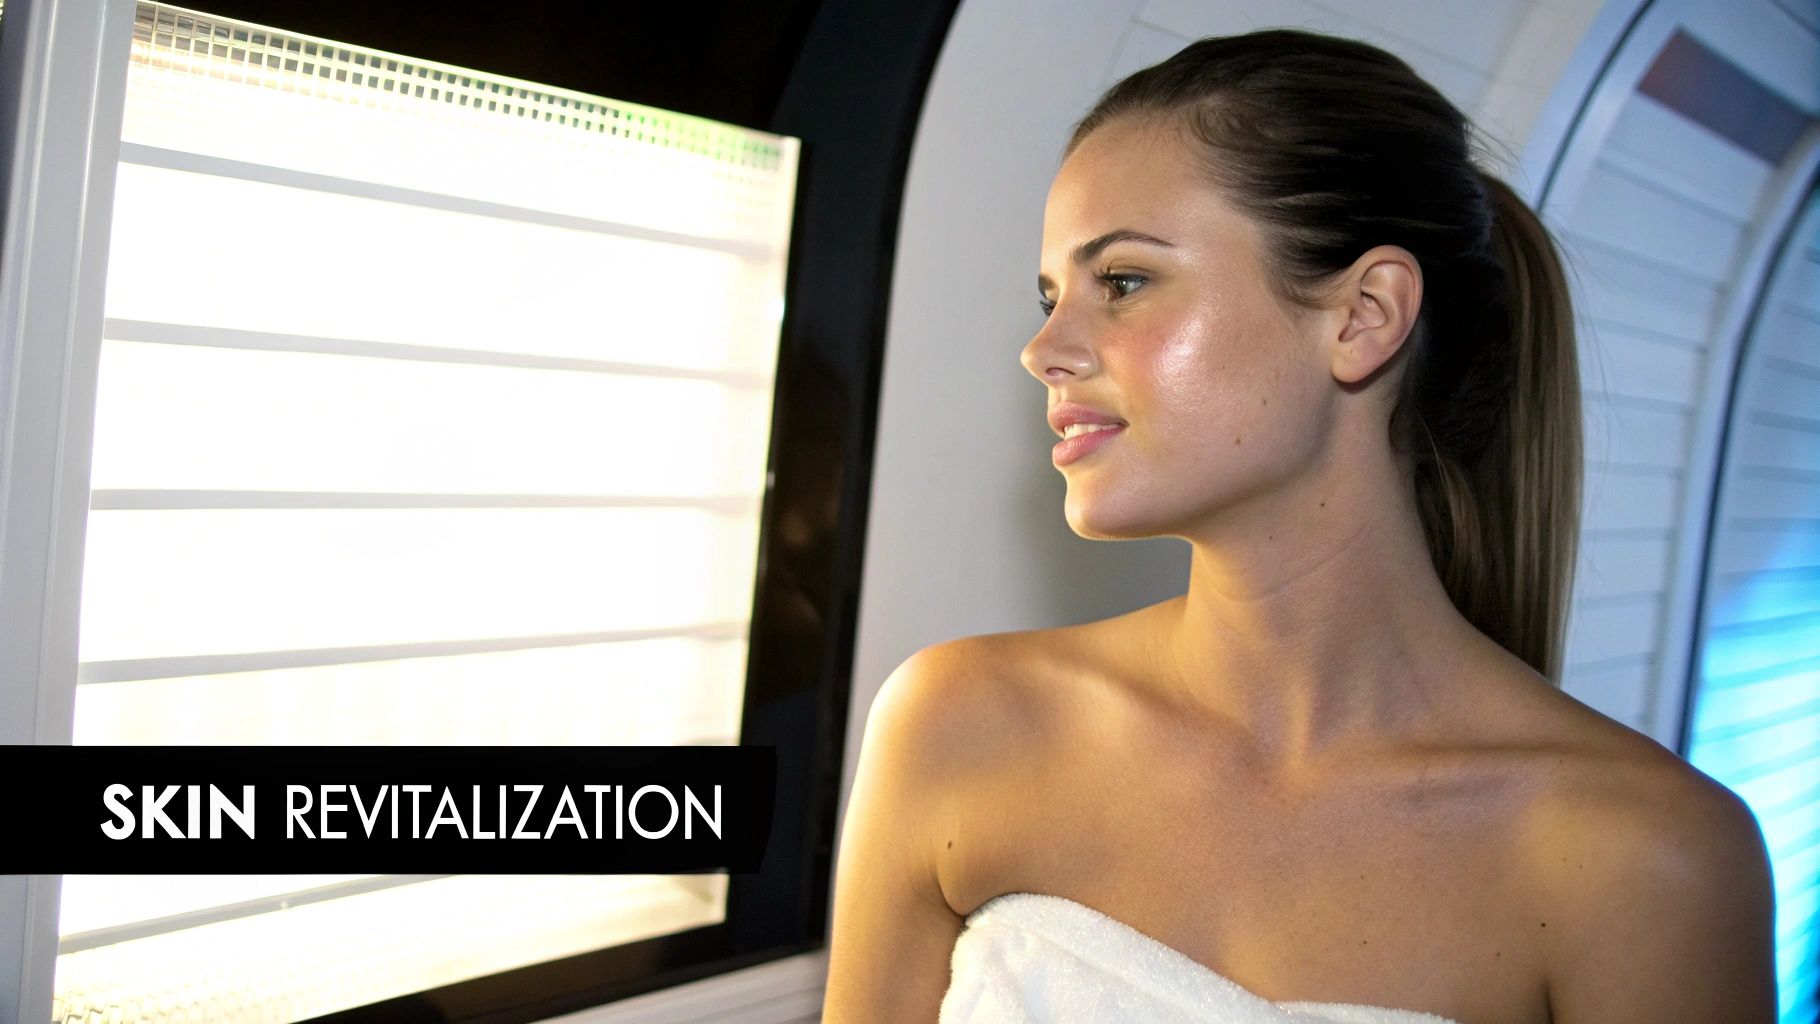
But it goes deeper than just a faster recovery. This combination amplifies what microneedling is all about: stimulating fresh, new collagen. The red light energizes your skin cells, helping them work more efficiently to build that high-quality collagen. Over time, this leads to firmer, more elastic skin and a noticeable softening of fine lines. You're building a much stronger, healthier foundation from the inside out.
Measurable Improvements You Can Actually See
These aren't just vague promises; the benefits are backed by solid clinical data. This powerful duo creates real, tangible improvements in your skin's texture and tone. It's also a fantastic way to minimize the risk of post-inflammatory hyperpigmentation (PIH), which is a common worry, especially for those with deeper skin tones.
For example, studies have shown that pairing microneedling with red light therapy leads to some impressive, clinically significant changes. One particular study found that this combination resulted in an average 24.93% improvement in skin texture and a 10.30% improvement in skin tone evenness after just eight weeks. You can dig into the specifics and read the full study about these skin texture improvements yourself.
This means adding red light therapy doesn't just make recovery more comfortable—it actively helps you get that smoother, more radiant skin you’re after. It elevates a good treatment to a great one.
A Safety Profile You Can Feel Good About
One of the best things about red light therapy is just how safe it is. It's a completely non-invasive and non-thermal treatment. That means it doesn't use heat, so the risk of side effects is incredibly low when you follow the rules. Most people just feel a gentle, pleasant warmth during the session.
However, "safe" doesn't mean "zero precautions." You still need to be smart about it. It’s crucial to know the contraindications. If you have a photosensitivity disorder or are on any medications that make your skin more sensitive to light—like certain antibiotics or acne treatments like isotretinoin—you should skip this treatment.
Always start with clean, dry skin and, most importantly, use a quality, FDA-cleared device. This ensures you’re getting a dose of light that is both therapeutic and safe. When in doubt, a quick chat with your aesthetician or dermatologist is always the smartest move. Getting familiar with the core microneedling benefits can also provide a clearer picture of what the initial treatment sets out to accomplish.
Answering Your Top Questions
Even with a solid plan, you're bound to have some questions pop up. It's completely normal. So, let's walk through some of the most common things people ask when combining red light therapy with microneedling. Getting these details straight will help you move forward with confidence and get the absolute best results from this amazing duo.
How Soon After Microneedling Can I Start?
The short answer? Almost right away. In fact, you should. When we do this in a professional clinic, the red light therapy session often happens in the same appointment, immediately after the microneedling is done. This gives the skin an instant head start on calming down.
If you’re doing this at home with your own device, the sweet spot is sometime later that same day or at least within the first 24 hours. By starting early, you’re tapping into that initial healing phase when your skin is working its hardest. This is the key to minimizing downtime and seeing that redness fade much faster.
Can I Use Just Any Red Light Device?
This is a big one, and the answer is a firm no. Device quality is everything, especially when your skin is so open and receptive after a treatment. You need to be sure you're using a device that provides the right, clinically-proven wavelengths of light.
What should you look for? A high-quality, FDA-cleared panel is your best bet. Make sure it offers both:
- Red Light (~660nm): This is the wavelength that works on the surface, fantastic for soothing inflammation and helping those tiny micro-channels heal up.
- Near-Infrared Light (~850nm): This one goes deeper, giving a jolt of energy to the fibroblast cells responsible for making all that wonderful new collagen.
Be wary of low-power masks or cheap gadgets you find online. They often don't have the necessary power density (or irradiance) to trigger a genuine biological change in your skin. An investment in a reputable device means you're getting a true therapeutic dose of light that will actually work.
What Should My Skin Feel Like During a Session?
A proper red light session should be a pretty relaxing experience. The most you should feel is a gentle, pleasant warmth on your skin. That's it.
It should never feel hot. You definitely shouldn’t feel any stinging, burning, or discomfort. If you do, that's a clear signal that you’re either too close to the light or the session is running too long. Just scoot back a few inches or cut the time down.
After you're done, your skin should actually look and feel calmer. Many people notice a visible reduction in redness right away.
Do I Still Need to Follow Other Aftercare Rules?
Yes, 100%. Think of red light therapy as a powerful booster for your recovery, not a replacement for the core aftercare rules. Listening to your practitioner’s instructions is the most important thing you can do for a safe and successful outcome.
You absolutely must stick to the plan:
- Stay out of the sun and be diligent with a mineral-based SPF.
- Put a pause on your strong skincare, like retinoids, exfoliating acids (AHAs/BHAs), and any physical scrubs.
- Avoid heavy makeup and skip the sweaty workouts for at least the first few days.
Proper aftercare builds the foundation for healing; red light therapy is the accelerator that makes it all happen faster and better.
Ready to see what the combination of professional microneedling and targeted light therapy can do for you? At Olive Skin Therapy, we build personalized treatment plans around your specific skin goals to ensure you get safe, beautiful, and effective results.
Book your customized consultation with Olivia today and let's start the journey to your healthiest, most radiant skin.