A Guide to Micro Needling Fine Lines
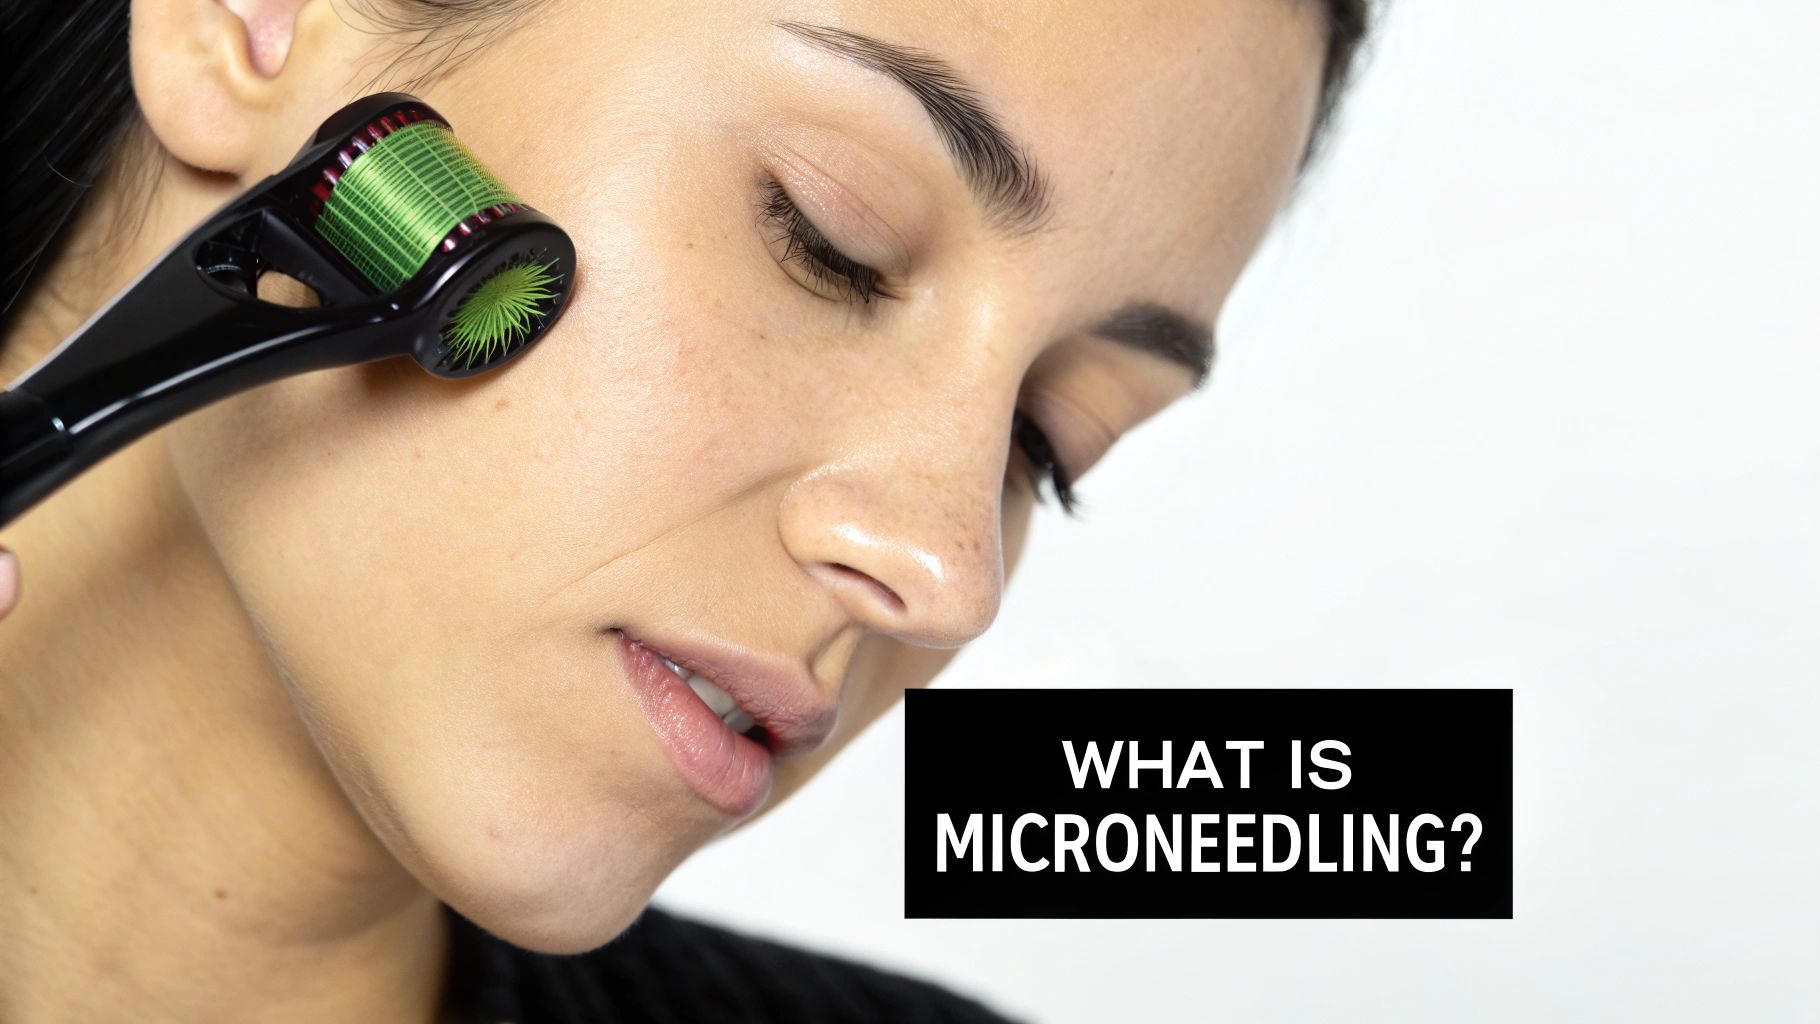
When we talk about using microneedling for fine lines, we're really talking about tapping into your skin's own built-in repair system. The whole process works by creating thousands of tiny, controlled micro-channels in the skin. This sends a signal to your body: "Hey, we need some healing here!"
In response, your body kicks into high gear, producing fresh, new collagen and elastin. Think of these as the scaffolding that keeps your skin firm and bouncy. This natural regeneration, often called collagen induction therapy, essentially plumps the skin from the inside out, smoothing over those pesky fine lines.
Why Microneedling Is So Effective on Fine Lines

So, how does this actually work? A great way to think about it is like a targeted workout for your skin. When you lift weights, you create tiny tears in your muscle fibers, and as they heal, the muscles grow back stronger. Microneedling does something very similar for your skin, just on a microscopic level.
Fine lines pop up because, as we age, our natural production of collagen and elastin takes a nosedive. These proteins are the core building blocks that give our skin its youthful structure and snap-back quality. Without a steady supply, the skin starts to lose its firmness, and fine lines begin to set in.
Microneedling tackles this problem head-on. It's not a temporary, surface-level fix. Instead, it triggers a healing cascade that rebuilds your skin’s supportive matrix from deep within the dermis. The result is skin that looks and feels genuinely healthier—smoother, yes, but also firmer and more resilient in the long run.
The Science of Skin Regeneration
The real "magic" behind microneedling happens in three distinct phases of skin healing:
Inflammation: Right after your session, your immune system springs into action. Blood flow increases, bringing powerful growth factors to the area to start the repair job. This is what causes that temporary, post-treatment redness. It's a good sign!
Proliferation: Over the next few days, your body activates special cells called fibroblasts. These are the little collagen factories that get to work weaving a brand-new network of supportive fibers.
Remodeling: This is the long game. For several weeks and even months, that new collagen matures and tightens, reorganizing itself into a stronger, more organized structure. This is when you really see the visible reduction in the depth of your fine lines.
It’s no surprise this has become such a go-to treatment in dermatology. The global market for microneedling devices was valued at nearly USD 49 billion in 2023 and is expected to soar past USD 99 billion by 2032. That's because it consistently delivers results for common concerns like fine lines and texture issues.
Key Takeaway: Microneedling doesn’t just cover up fine lines. It actually encourages your skin to rebuild itself by firing up the production of new collagen and elastin, restoring the very structure that keeps skin smooth, firm, and youthful.
This regenerative ability is why so many people choose it over treatments that only work on the surface. If you're weighing your options, getting a deeper understanding is key. Our guide on microneedling for fine lines offers a closer look at the entire process and what you can expect. Knowing how the treatment partners with your body's natural healing power helps you appreciate the beautiful, gradual improvements you’ll see.
How to Prepare for Your Microneedling Session

Getting the absolute best results from your microneedling treatment starts way before you ever walk into the clinic. Think of it less as a list of rules and more like setting the stage for a great performance. Proper prep isn't just about avoiding a bad reaction; it's about creating the perfect canvas for your skin to heal and kickstart that amazing collagen production.
The real prep work begins about two weeks before your appointment. The main goal here is simple: keep your skin calm, happy, and free from any irritation that could throw a wrench in the works.
Your Two-Week Countdown
With two weeks to go, it's time to hit pause on any aggressive skin treatments. This means no chemical peels, no laser sessions, and no experimenting with potent new products. Your focus should shift entirely to gentle, supportive skincare.
Pro Tip: If you're getting ready for a big event like a wedding, book your final microneedling session at least four to six weeks out. This buffer gives your skin plenty of time to heal and remodel, so you'll be showing off that incredible glow when it counts.
One of the most critical steps is to temporarily retire any products with retinoids (like retinol or tretinoin) or harsh exfoliants (think strong AHAs and BHAs). These ingredients are fantastic for cell turnover, but they can also make your skin extra sensitive—the exact opposite of what you want before a collagen induction therapy session.
The Final Week and Days
As you get into the last seven days, your prep becomes a bit more targeted. Now, the name of the game is protecting your skin from anything that could cause damage or sensitivity.
Here's what to focus on:
Steer Clear of the Sun: A sunburn is a definite no-go. It’s a form of skin trauma that will lead to a cancelled appointment. Be absolutely religious about applying a broad-spectrum SPF 30+ every single day, no excuses.
Hold Off on Blood Thinners: About a week before your treatment, you’ll want to stop taking common supplements and over-the-counter meds that can thin your blood. This list includes things like aspirin, ibuprofen, fish oil, and vitamin E. This one small step can dramatically reduce the risk of bruising. Of course, always check with your doctor before you stop taking any prescribed medication.
In the final 48 hours, there are just a couple more things to do. Skip any alcoholic drinks, as they can dehydrate you and your skin, potentially increasing the chance of bleeding.
When the big day arrives, just come as you are. Show up to your appointment with a completely clean face—no makeup, no lotions, no serums. This gives your practitioner a fresh, prepped surface to work on, ensuring the treatment can effectively target those fine lines.
A Realistic Look at the Microneedling Procedure

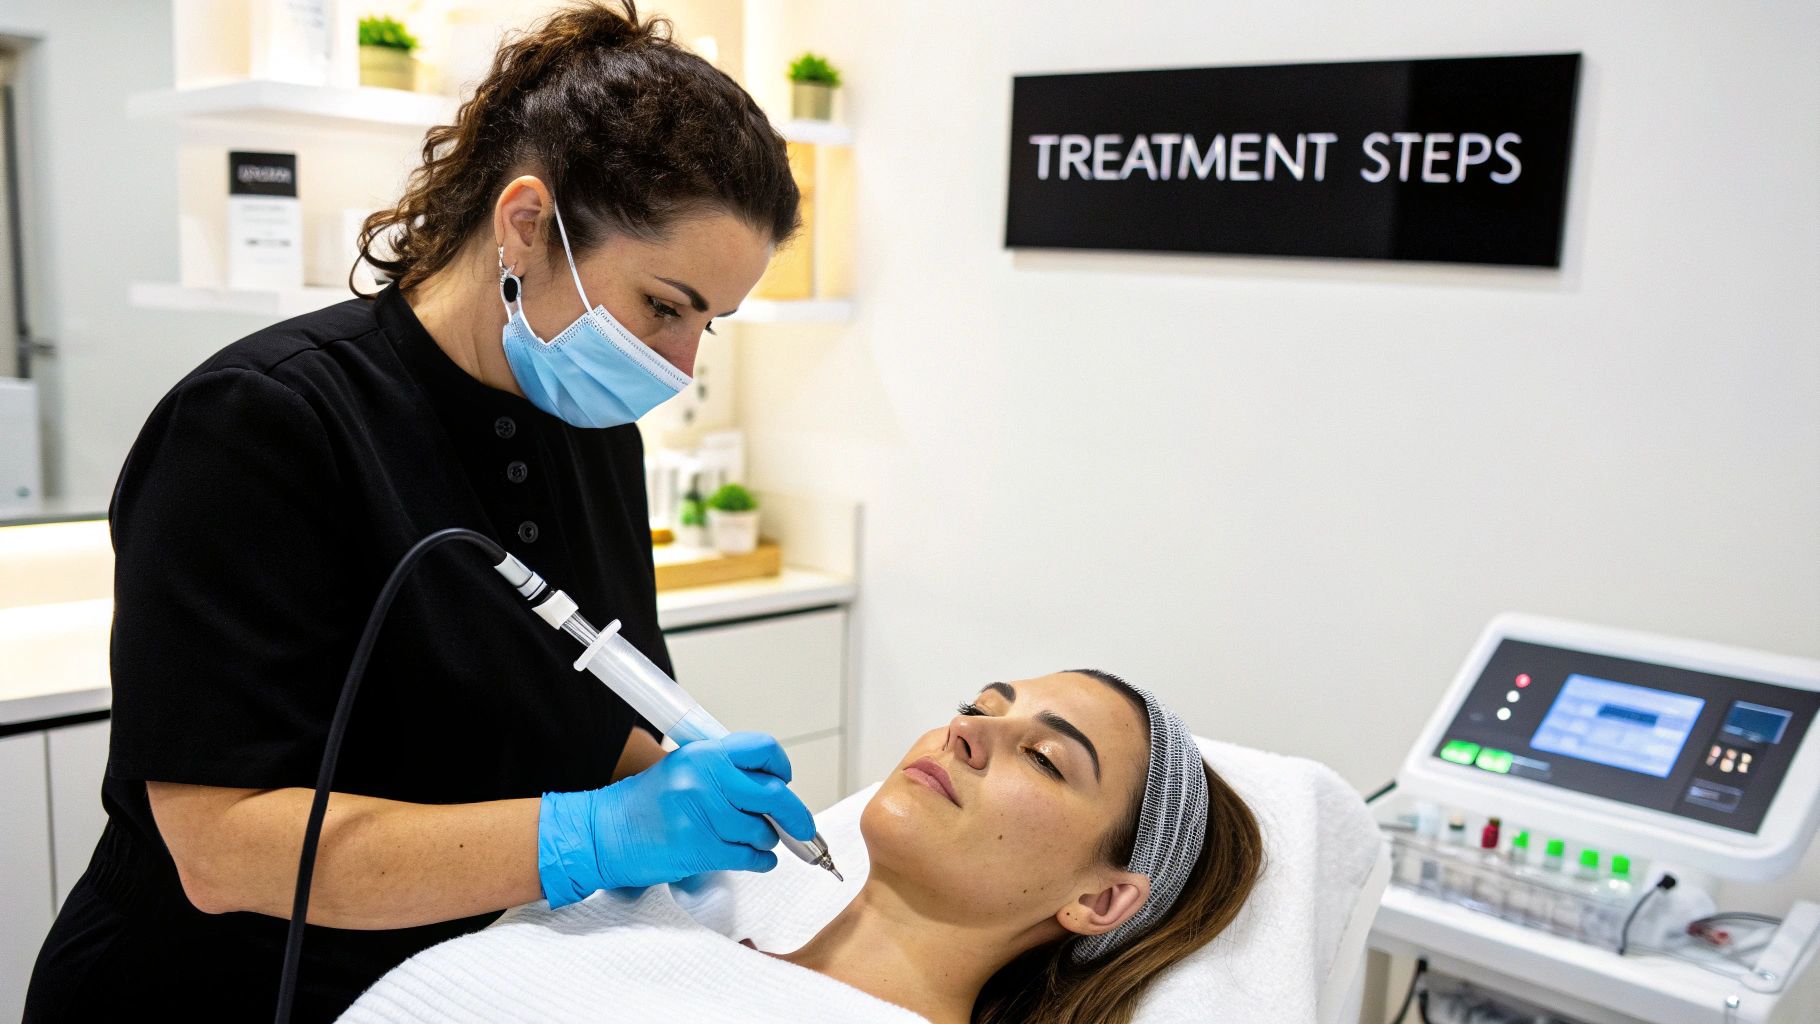
When you arrive for your appointment, the first thing we'll do is get your skin perfectly prepped. It all starts with a deep cleanse to get rid of any makeup, oil, and environmental grime. Think of it as creating a clean canvas.
Next up is the part everyone appreciates: the numbing cream. A generous layer is applied all over the treatment area and left to sit for about 30 to 45 minutes. This step is crucial and makes a huge difference in keeping you comfortable throughout the entire process.
What Does it Actually Feel Like?
Once your skin is nice and numb, we wipe off the cream and apply a special serum. This is usually something with hyaluronic acid, which helps the microneedling pen glide effortlessly across your skin. It also gives your skin a dose of hydration that can now penetrate much deeper thanks to the micro-channels we're about to create.
Then, the microneedling itself begins. Your aesthetician will move the device in a systematic pattern across your skin. The most common feedback I get from clients isn't about pain, but about the strange sensation—it’s often described as a light vibration or a feeling similar to fine sandpaper being gently moved across the skin. It's an odd sensation, for sure, but the numbing cream makes it very manageable.
We can also adjust the needle depth on the fly. This is key for customizing the treatment. For example, we'll use a much shorter needle depth for the delicate skin under your eyes, but we might go a bit deeper on the forehead to better tackle microneedling fine lines.
A common misconception is that microneedling is intensely painful. While everyone's tolerance is different, the combination of a professional-grade numbing cream and the rapid movement of the device means most clients are pleasantly surprised by how little discomfort they actually feel.
Traditional vs. RF Microneedling
While standard microneedling is a fantastic workhorse for skin rejuvenation, you've probably also heard about RF microneedling. This is the next level up. It combines the physical micro-injuries with radiofrequency (RF) energy.
As the tiny needles penetrate the skin, they deliver a controlled pulse of heat deep into the dermis. This one-two punch of a micro-injury plus heat gives collagen production an incredible boost. It's especially good for tackling more stubborn signs of aging, like deeper-set wrinkles or a bit of skin laxity, alongside the fine lines. It’s essentially microneedling on steroids.
The data backs this up, showing that skin improvements are directly linked to this supercharged collagen induction. While a series of treatments is almost always needed, results for fine lines and texture often start showing up about six weeks after your first session. Adding radiofrequency just enhances those outcomes by triggering a more robust healing and remodeling response deep within the skin. You can dig into some of the data in reports covering microneedling market trends.
Once the needling part is done, we'll apply a calming serum or a soothing mask to help take down the initial redness. Your aesthetician will walk you through all the post-care instructions, and then you're all set. The whole appointment is designed to be as efficient, effective, and comfortable as possible.
Your Aftercare Playbook for Optimal Results
What you do after your microneedling session is every bit as important as the treatment itself. Honestly, the next few days are when the real magic happens, and proper care is what locks in those results. You've made an investment in your skin; this is how you protect it.
Think of it this way: your skin is now in full-on regeneration mode. Your job is to give it the perfect, calm environment to heal and build all that new collagen.
Right after your appointment, your skin is going to feel tight and look a bit red, almost like you got a little too much sun. Don't worry—this is completely normal. It’s actually a good sign that your body's natural healing process is kicking into high gear.
The First 24 Hours: Keep It Simple
For the first 24 hours, the mantra is "less is more." The tiny micro-channels in your skin are still open, which means your skin is a super-absorbent sponge... but it's also incredibly vulnerable.
Gentle Cleansing: If you feel you must wash your face, stick to lukewarm water and just your fingertips. Skip all cleansers for now, even the ones that say they're for sensitive skin.
Hydrate, Hydrate, Hydrate: Your provider probably applied a hyaluronic acid serum post-treatment, and you'll want to continue using it at home. It’s a hydration hero that won’t clog those open channels or cause irritation.
Sleep Clean: This is such a simple but crucial tip—use a fresh, clean pillowcase the night of your treatment. It's an easy way to keep bacteria away from your skin while it's healing.
This initial phase is all about minimalism. That means no makeup, no exfoliants (like acids or scrubs), no retinoids, and no vitamin C serums. Also, put that gym session on hold. Sweating from a workout or sitting in a sauna can introduce bacteria and irritate your skin.
Days 2-3: Navigating the Early Healing Stage
By day two or three, that initial redness should be calming down quite a bit. You can slowly start reintroducing a few things back into your routine, but the keyword is still gentle.
You can now use a very mild, non-exfoliating cleanser and should definitely keep up with the hyaluronic acid. But the most critical addition at this stage is sunscreen.
Pro Tip: From this point on, sun protection is absolutely non-negotiable. Use a mineral-based, broad-spectrum sunscreen with an SPF of 30 or higher. Apply it every single day, even if you’re just staying indoors. Your skin is extra sensitive to sun damage right now, and skipping SPF could lead to hyperpigmentation, completely undermining your results.
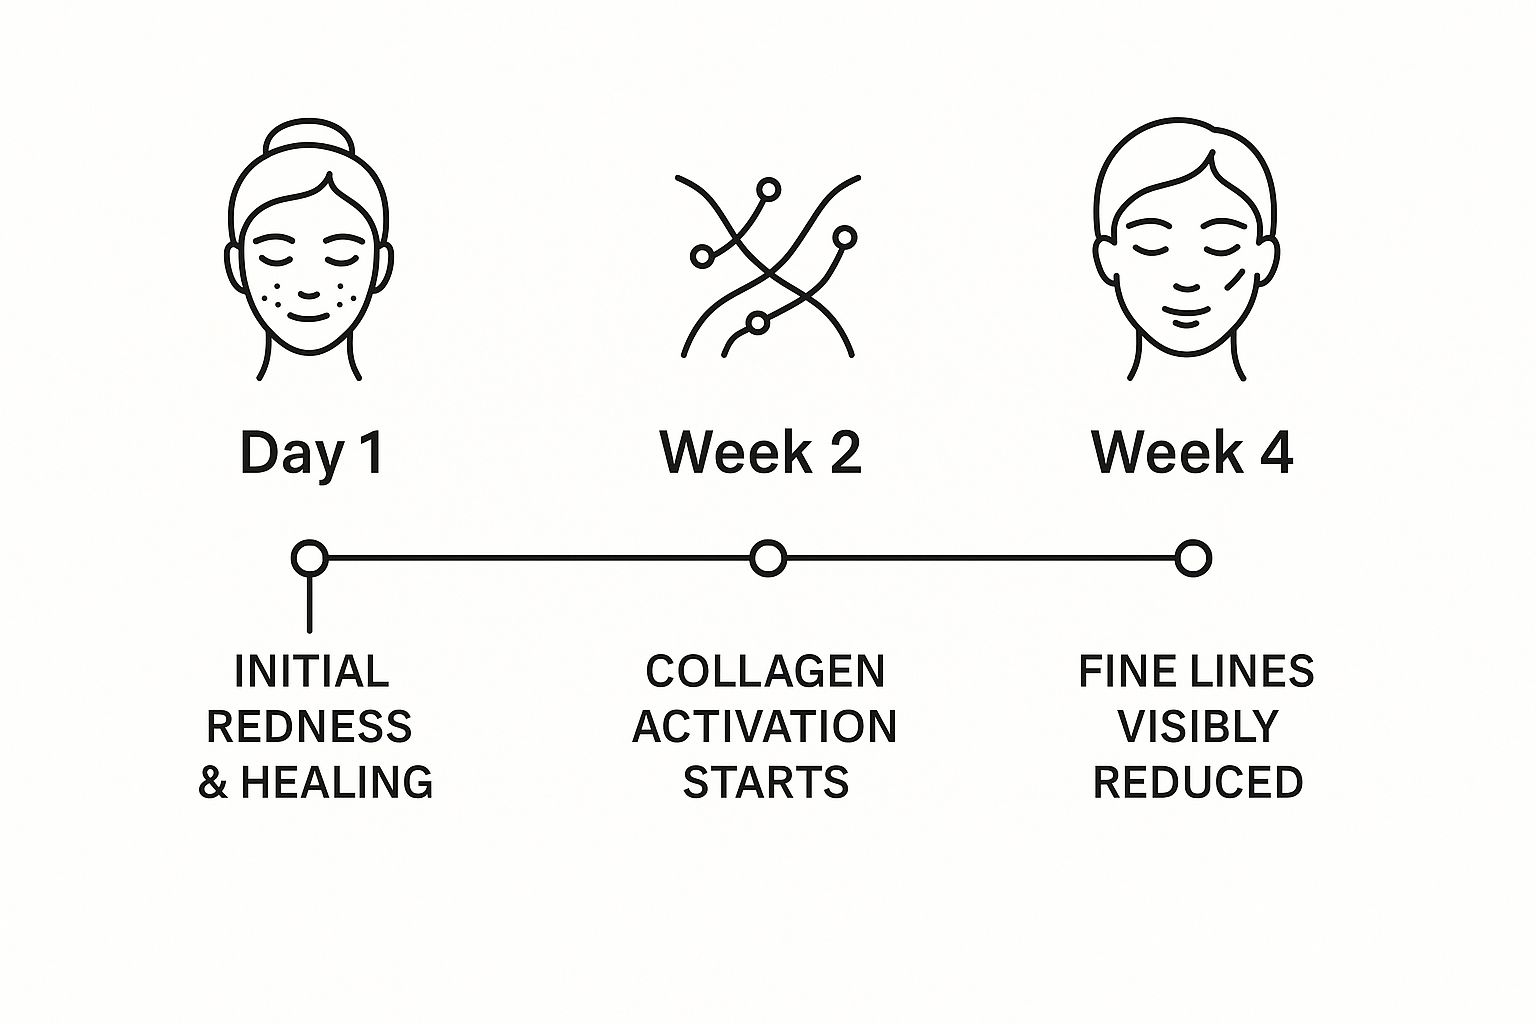
The journey to smoother skin doesn't happen overnight. It's a process of healing and renewal that continues for weeks after your appointment. This visual gives you a great idea of what's happening beneath the surface long after the initial redness is gone.

As you can see, the collagen and elastin remodeling is a long-term benefit that builds over time.
For an even deeper dive, our guide on microneedling aftercare instructions that actually work is packed with more pro tips.
To make it even easier to follow, here's a simple timeline of what to do (and what not to do) after your treatment.
Your Microneedling Aftercare Timeline
Timeframe Key Actions (Do) Products/Activities to Avoid Day 1 (First 24 Hrs) - Cleanse with lukewarm water only
- Apply hyaluronic acid serum
- Sleep on a clean pillowcase - ALL other skincare (cleansers, actives, etc.)
- Makeup
- Sunscreen
- Strenuous exercise, saunas, swimming Days 2-3 - Use a gentle, non-exfoliating cleanser
- Continue with hyaluronic acid
- Apply mineral SPF 30+ religiously - Retinoids, Vitamin C, AHAs/BHAs
- Physical exfoliants (scrubs)
- Heavy makeup if possible
- Direct, prolonged sun exposure Days 4-7 - Continue gentle cleanser, HA, and SPF
- You can likely wear light makeup now
- Listen to your skin—if it feels ready... - Start to slowly reintroduce other products
- Still avoid harsh exfoliants or scrubs
- Continue to avoid retinoids until day 7+ Week 2 and Beyond - Resume your normal skincare routine
- Maintain daily SPF use to protect results - Wait at least two weeks before any other treatments like chemical peels or laser.
This timeline is a great general guide, but always remember to listen to what your own skin is telling you.
One Week and Beyond
Once you're past the 72-hour mark, you can usually start easing back into your normal skincare routine. If your skin still feels a little touchy, just give it another day or two with the gentle basics. By following these steps, you're not just healing properly—you're ensuring you get the absolute best, line-smoothing results from your treatment.
The Results Timeline for Fading Fine Lines
When it comes to collagen, patience is everything. You'll see some changes almost right away, but the real magic of using micro needling fine lines happens over time, deep under the surface. Knowing what to expect makes the whole process more rewarding.
Right after your appointment, your skin will look and feel like you got a little too much sun—a bit red, tight, and maybe warm. This is a good thing! It’s the initial inflammatory response that signals your body’s healing and rebuilding process has officially begun.
The First Week Glow
After a few days, that redness will calm down, and you might notice some light flaking. Don't worry, that's just the old, top layer of skin making way for the new. Many of my clients get excited about an immediate "glow" they see within the first week or so. This is from the improved circulation and initial surface healing.
This early radiance is a fantastic perk, but the true work on your fine lines is just getting started on a cellular level. Those tiny micro-injuries have just woken up your fibroblasts—your skin's personal collagen factories—and told them it's time to get busy.
Seeing The Deeper Changes
The results you’re really waiting for start to show up around the 4-6 week mark. That’s how long it takes your body to build a fresh, new matrix of collagen and elastin. This new protein network plumps the skin from the inside out, softening those fine lines and giving your skin more structure.
You'll know it's working when you notice little things. A great example is when you’re putting on makeup and realize it’s not creasing into your smile lines or crow’s feet anymore. Those are the moments that confirm the treatment is doing its job.
The demand for treatments targeting fine lines is a major driver behind the microneedling industry's growth. The global market, valued at approximately USD 748 million in 2024, is projected to more than double to nearly USD 1.59 billion by 2034, fueled by its effectiveness in skin rejuvenation. You can review the full microneedling market forecast for more details.
Because the results are cumulative, they get better with every session. While a single treatment gives your skin a nice boost, a full series is what delivers that significant, lasting reduction in fine lines. To get a better idea of what a full course of treatment involves, take a look at our guide on how many sessions of microneedling you might need.
Remember, it’s a marathon, not a sprint. The payoff is beautifully resilient, regenerated skin that truly lasts.
Got Questions About Microneedling for Fine Lines? Let's Clear Things Up.
Even after you've got the basics down, it’s completely normal to have a few more questions rattling around before you decide to book that first appointment. Feeling confident that microneedling is the right move for your skin is key, so let's tackle some of the most common things people ask.
I hear this one all the time: "How many sessions will I really need?" While just one treatment can definitely give your skin a beautiful, refreshed glow, the real magic for tackling those stubborn lines happens over a series of treatments.
How Many Treatments Will It Take for Deeper Lines?
When you're dealing with more noticeable fine lines, the sweet spot is usually a series of 4 to 6 treatments.
We space these appointments about four to six weeks apart, and there's a very good reason for that timing. It perfectly syncs up with your skin's natural healing and renewal cycle, giving it the time it needs to really get that collagen production engine revving.
Of course, this is just a general guideline. Your provider will work with you to map out a plan that’s tailored to your skin's specific needs. Once you finish that initial series, most of my clients come back for a maintenance session every 6 to 12 months. It’s a great way to keep that collagen stimulated and the results looking fantastic.
What's the Deal with At-Home Derma Rolling vs. a Pro Treatment?
The temptation to DIY is real, but it's so important to know what you're actually getting with an at-home derma roller. These devices use much shorter needles, typically just 0.25mm to 0.5mm. Their main job is to help your serums and creams sink in a bit better, not to trigger a deep collagen response.
Sure, they might give you a temporary bit of radiance, but they just don't have the power to make a real dent in established fine lines. Professional microneedling, on the other hand, uses longer needles in a completely sterile environment to create precise micro-injuries. That’s what kicks off true collagen induction therapy and really starts to rebuild the skin's foundation.
The micro-channels from a professional treatment are deep enough to signal a powerful healing response from your body. At-home devices just can't get there safely or effectively, which is why a pro session is the gold standard for actually reducing lines.
Can I Pair Microneedling with Other Treatments?
Absolutely! In fact, it often plays incredibly well with others as part of a complete anti-aging game plan. One of the most common pairings is with Botox, because they tackle wrinkles in two totally different ways.
Here's a quick breakdown of how they work as a team:
Botox is for dynamic wrinkles—the ones that pop up from muscle movements like smiling, squinting, or raising your eyebrows.
Microneedling is for static fine lines—the ones that are still there even when your face is totally relaxed, caused by the gradual loss of collagen.
Because they address different root causes, they complement each other beautifully for a much smoother, more comprehensive result. The only catch is timing. Most experts recommend waiting at least two weeks between your Botox and microneedling appointments. As always, chat with your specialist to map out a schedule that's both safe and effective for you.
Ready to see how a microneedling plan designed just for you can transform your skin? At Olive Skin Therapy, we specialize in creating custom strategies to bring out your skin’s smoothest, healthiest, and most radiant self.
Book your consultation with Olive Skin Therapy today and let's get you on the path to results you can see and feel.
