Your Ultimate DIY Home Facial Guide
A DIY home facial is simply a multi-step skincare treatment you do yourself, at home. It’s more than just slapping on a face mask; a true facial involves a sequence of steps—like cleansing, exfoliating, masking, and moisturizing—that work together to genuinely improve your skin's health and appearance.
Why a DIY Home Facial is More Than Just Pampering
Carving out time for a spa-like experience at home has become a cornerstone of modern skincare. It's not just about a few moments of relaxation (though that’s a huge plus!). It's about taking a hands-on, effective approach to getting that consistent, healthy glow. When you take charge of your own facial routine, you start to learn what your skin really responds to.
This isn't just some passing trend. We're seeing a major shift toward people wanting to be more involved and knowledgeable about their own beauty routines. They're investing in high-quality products and tools to use themselves.
The Rise of At-Home Skincare Technology
The proof is in the numbers. The global market for home facial beauty devices was valued at around $4.5 billion in 2023 and is projected to jump to almost $12 billion by 2032. This boom is all about a demand for convenience and the amazing new tech becoming available for home use.
This guide is here to walk you through creating a facial that feels just as effective as a professional one. You'll learn how to pick the right products and use techniques that deliver a healthy, lasting glow—making you feel like an esthetician in your own bathroom.
The real power of a DIY home facial lies in customization. You control everything: the ingredients, the pressure, the timing. This means every step can be perfectly adapted to what your skin needs on that specific day.
To help you get started, here's a quick overview of what a complete at-home facial looks like.
Your DIY Home Facial at a Glance
This table breaks down the main stages of a great DIY facial. Think of it as your roadmap to glowing skin, outlining what you're trying to achieve at each step and the products that will get you there.
| Stage | Objective | Key Products or Tools |
|---|---|---|
| Preparation | Create a relaxing environment and prep the skin. | Candles, clean towels, headband, gentle cleanser |
| Exfoliation | Remove dead skin cells for better product absorption. | Chemical (AHA/BHA) or physical (scrub) exfoliant |
| Treatment | Target specific skin concerns like acne or dryness. | Face mask, steamer, extraction tool (optional) |
| Hydration & Protection | Replenish moisture and protect the skin barrier. | Serum, moisturizer, eye cream, SPF (daytime) |
Following these stages turns a simple skincare routine into a powerful, results-driven treatment.
The Benefits of Consistency
While a single DIY facial will definitely give your skin an immediate boost, the real transformation comes from making it a regular practice. Sticking with it can lead to incredible improvements in your skin's texture, tone, and overall health. It’s a fantastic way to manage ongoing issues like breakouts, dryness, or the first signs of aging—often more effectively than relying on occasional professional appointments alone.
If you’d like to learn more, we have a whole post covering the long-term benefits of regular facials.
By mastering just a few key steps, you can create a sustainable routine that keeps your skin radiant and strong. Professional results don't have to be a luxury; they can become your everyday reality.
How to Properly Prepare Your Skin
A great facial doesn't start with the mask. It begins much earlier, with the prep work. Think of it like painting: you wouldn't start applying color to a dirty, unprepared canvas. Getting your skin ready is what allows every product you use later to really sink in and do its job. This isn't just about getting clean; it's about creating the perfect foundation for that post-facial glow.
First things first, you have to double cleanse. There's a reason every esthetician swears by this technique—it’s the only way to get your skin truly, deeply clean.
Start with an oil-based cleanser or a balm, massaging it directly onto your dry skin. This is the magic step for dissolving everything oil-based, like stubborn makeup, sunscreen, and the natural oils your skin produces throughout the day. Once you've worked it in, rinse it away. Then, grab your favorite water-based cleanser—be it a gel, foam, or cream—and wash again. This second cleanse whisks away any leftover residue, sweat, and grime. The result? Exceptionally clean skin that doesn't feel tight or stripped.
Choosing Your Exfoliant Wisely
Now that you have a perfectly clean slate, it’s time to exfoliate. This is the crucial step that polishes your skin, sloughing off the dull, dead cells that clog pores and block your other products from absorbing. But here's the catch: not all exfoliants are right for all skin types, and choosing the wrong one can do more harm than good.
You're looking at two main options: physical or chemical exfoliants. Picking the right one for your DIY home facial is key to avoiding irritation.
- Physical Exfoliants: These are your classic scrubs, usually made with fine particles like sugar, jojoba beads, or finely ground seeds. They work by manually buffing away dead skin. I find these work best for less sensitive skin, especially oily or combination types that can handle a bit of friction.
- Chemical Exfoliants: These use gentle acids or enzymes to dissolve the "glue" that holds dead skin cells to the surface. They’re often my go-to recommendation because they can be gentler and target a wider range of issues.
If you're new to chemical exfoliants, here’s a quick guide:
- AHAs (Alpha-Hydroxy Acids): Think glycolic and lactic acids. These are fantastic for surface-level concerns like dullness, fine lines, and uneven texture.
- BHAs (Beta-Hydroxy Acids): Salicylic acid is the star here. Because it's oil-soluble, it can get deep into your pores to clear out congestion and blackheads, making it a hero for acne-prone skin.
A word of caution I always give my clients: don't overdo it. Exfoliating just once during your weekly or bi-weekly facial is usually enough. Your skin will tell you if it's too much—if you see redness or feel any sensitivity, it's time to pull back.
The graphic below shows just how important this prep work is for achieving better results.
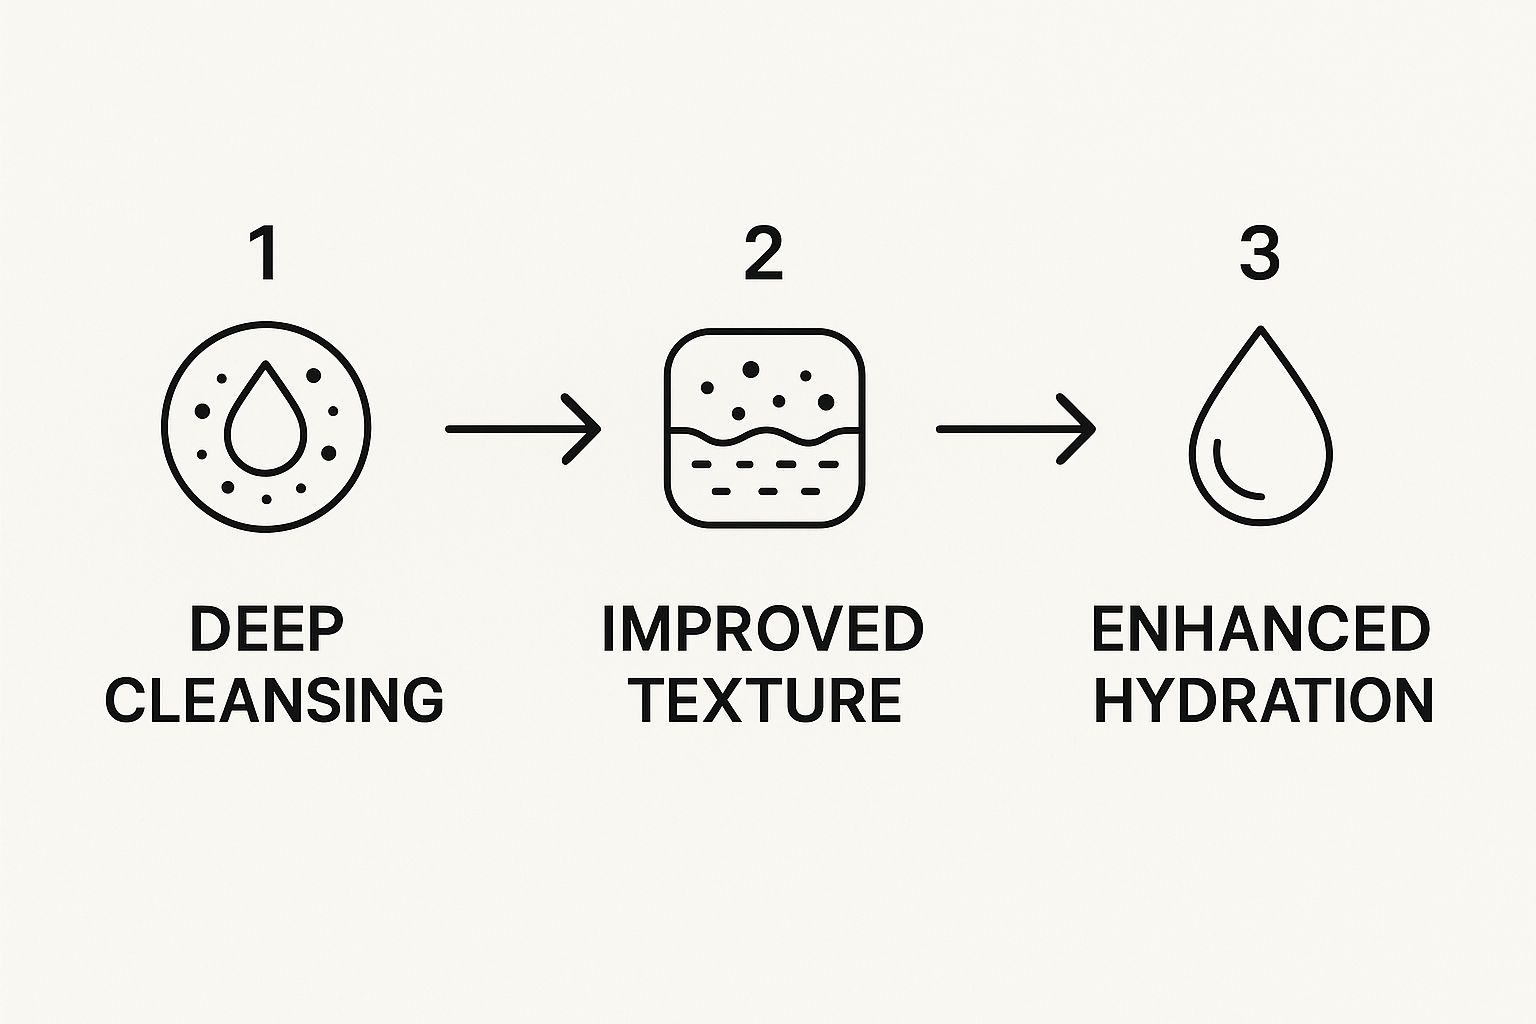
As you can see, deep cleansing and thoughtful exfoliation aren't just extra chores. They are foundational steps that visibly improve your skin's texture and prime it to hold onto moisture from the products you apply next.
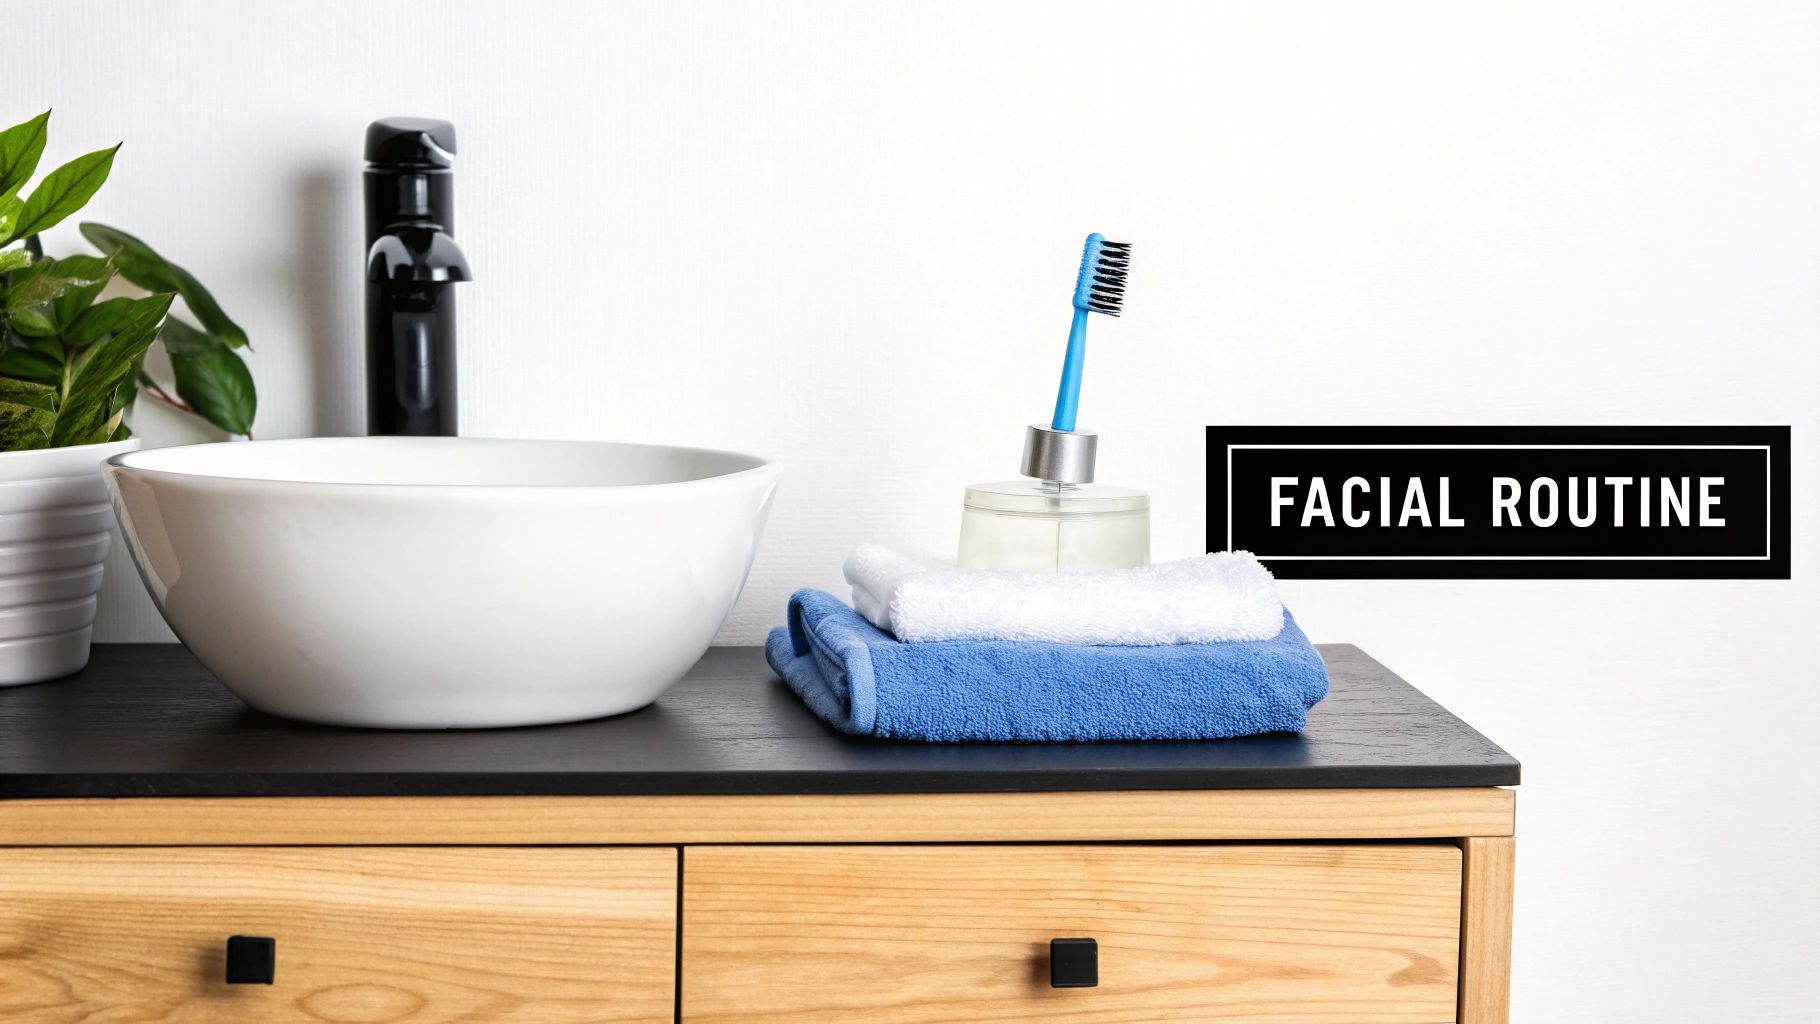
Creating a Relaxing Atmosphere
Finally, let’s talk about the vibe. What makes a professional facial feel so luxurious isn't just the products; it's the entire experience. So, do the same for yourself at home.
Light a favorite candle, dim the lights, and put on some calming music or a podcast. Have your clean towels and all your products laid out within arm's reach. Taking a few moments to set the scene transforms a simple skincare routine into a genuine, restorative ritual. And that feeling of relaxation? It's amazing for your skin, too. By taking the time to cleanse, exfoliate, and set a peaceful mood, you've perfectly prepped your skin to soak up every last drop of goodness from your facial.
The Core Treatment and Masking Stage
Alright, now that your skin is freshly cleansed and exfoliated, we’re getting to the heart of your diy home facial. This is where the magic really happens—the treatment stage. All that prep work has created the perfect canvas for targeted ingredients to go to work on your specific skin concerns, delivering those results you can both see and feel.
A great way to kick this off is with a gentle steam. You don't need a fancy spa steamer for this. Just grab a clean face towel, soak it in hot (but not scalding!) water, wring it out, and drape it over your face for a minute or two. The warmth feels incredible, and it helps soften the skin and open up your pores, making them much more receptive to whatever mask you apply next.
Choosing the Perfect Treatment Mask
The mask is the main event of any facial, hands down. It's designed to sit on your skin for 10-20 minutes, giving those powerful ingredients the time they need to truly penetrate and make a difference. The trick is to pick the right one for what your skin is telling you it needs today.
I always recommend having at least two different masks in your cabinet. Your skin's needs can change dramatically from one week to the next. You might be dealing with some hormonal breakouts and need a purifying clay mask, but next week, your skin might feel tight and crave a deeply hydrating cream mask.
Here’s a quick cheat sheet to help you find your match:
- For Dry or Dehydrated Skin: Your skin is thirsty! Look for cream or gel masks packed with ingredients like hyaluronic acid, glycerin, honey, or ceramides. These are all about drenching your skin in moisture and rebuilding that protective barrier.
- For Oily or Congested Skin: Clay masks, especially those with bentonite or kaolin clay, are your best friend. They literally pull excess oil and gunk out of your pores. Salicylic acid is another hero ingredient here for keeping things clear.
- For Dull or Uneven Skin: To get your glow back, you'll want a mask with brightening powerhouses like vitamin C, niacinamide, or fruit enzymes from pumpkin or papaya. These work wonders for fading dark spots and evening out your complexion.
A quick pro tip: It's normal to feel a slight tingle from a clay or exfoliating mask—that means it's working. But if you ever feel a burning sensation, that's your skin's way of saying "nope!" Wash it off immediately. Your face should feel refreshed afterward, not raw or irritated.
The Rise of Personalized At-Home Masks
If you're someone who loves to be in complete control of what goes on your skin, you’ll be excited about this trend: at-home facial mask makers. These clever devices let you whip up fresh, custom gel masks using things you might already have, like fruit juice, vegetable purees, or even herbal teas. It’s the ultimate in personalized skincare.
This isn't just a niche hobby, either. The global market for these devices hit around $820 million in 2023 and is still climbing. This boom is heavily influenced by the K-beauty and J-beauty philosophies that champion fresh, targeted ingredients. If you’re a data nerd like me, you can dig into the specifics of this growing facial mask maker market on gminsights.com.
Whether you're using a store-bought formula or a homemade concoction, application matters. Use a clean brush or your fingertips to smooth an even layer over your face, making sure to avoid the sensitive skin around your eyes and lips.
And now, the best part: relax. Seriously. This is your dedicated "do nothing" time. Put on some music, grab a book, or just close your eyes and breathe while the mask does its thing.
Once your time is up, rinse everything off with lukewarm water. Gently pat your skin dry with a soft towel—no aggressive rubbing! Your skin is now treated, balanced, and perfectly prepped for the final steps of your facial.
Mastering the Art of Facial Massage
With your skin prepped and receptive from the treatment mask, it’s time for my favorite part of any diy home facial. This is where we elevate a simple routine into a truly restorative ritual: the massage.
This step is so much more than just a moment of pampering. It's a functional technique that gets things moving. You're boosting circulation, encouraging lymphatic drainage to de-puff, and melting away tension you might not even realize you're holding in your jaw or forehead.
First things first, you need some "slip." Never, ever massage dry skin—that just leads to pulling and irritation. A few drops of a good facial oil or a rich, creamy serum will give you the glide you need for your fingers or tools to move smoothly.
Fingertip Techniques for a Natural Glow
You don't need a drawer full of fancy gadgets for a fantastic facial massage. Honestly, your own fingertips are some of the best tools you have, as long as you use them correctly. The key is to be gentle but firm, always working in upward and outward motions against gravity.
I always start at the center of my face and work outwards.
- For the jawline: Use your index and middle fingers to make small, circular motions, moving from your chin up towards your ears. This feels incredible if you tend to clench your jaw.
- For the cheeks: Place your fingertips on either side of your nose and sweep them up and out toward your temples. This simple motion helps to lift the face and bring oxygen-rich blood to the surface, giving you that healthy, post-facial glow.
- For the forehead: Switch to gentle, upward strokes, starting from your eyebrows and moving toward your hairline to smooth away tension lines.
Just a few minutes of this can make a world of difference in how your skin looks and feels.
The real magic is in the pressure and consistency. You're aiming for a touch that feels purposeful and relaxing, but never painful. Think of it as gently waking up your facial muscles, not wrestling with them.
Taking It to the Next Level with Tools
If you want to deepen the experience, introducing a tool like a gua sha stone or a jade roller can be a game-changer. There's a reason these have become so popular. In fact, the global facial massager market was valued at a staggering $1.79 billion in 2023 and is projected to keep growing as more people discover the benefits. You can read more about the growth of the facial massager market at grandviewresearch.com.
Here’s a quick guide on how I use them:
- Gua Sha: This flat, carved stone is my go-to for sculpting and lymphatic drainage. The trick is to hold it at a slight 15-degree angle to your skin and use gentle scraping motions upward and outward. Use the different curves of the stone to hug your jawline and cheekbones perfectly.
- Jade Roller: A roller is brilliant for cooling the skin and quickly reducing puffiness, especially in the morning. Use the larger stone for broad areas like your cheeks and forehead, and flip to the smaller end for the delicate under-eye area. Always roll outwards, never back and forth.
Whether you stick with your fingers or bring in a tool, spending just five minutes here completes the core treatment of your facial. Your skin will look more radiant and sculpted, and you'll feel a wave of calm wash over you. You've successfully treated and stimulated your skin, setting it up perfectly for the final, hydrating steps.
Sealing the Deal: Hydration and Protection
Your skin is feeling amazing right now—calm, nourished, and glowing from that treatment and massage. The final moves are all about locking in that beautiful work. Think of it as putting a topcoat on a fresh manicure; you're sealing in the good stuff and creating a protective shield against the world.
Skipping this part is like baking a gorgeous cake and forgetting the frosting. It leaves the best part unfinished and vulnerable.
The trick here is all about layering your products correctly, moving from the thinnest consistency to the thickest. This method ensures each product can actually sink into your skin instead of being blocked by a heavier cream on top. A watery essence just can't get through a thick moisturizer, but that moisturizer can absolutely seal in a lightweight serum.
The Right Order for Your Post-Facial Glow
Once you've rinsed off your mask, your skin is prepped and thirsty for hydration. I always start with a calming toner or essence. You could even use a simple, cooled-down chamomile tea in a spray bottle. This quick spritz helps rebalance your skin's pH and gives it that first sip of moisture, prepping the canvas for what comes next.
Now, it’s time for serums. This is where you can get really specific.
- Feeling tight or dry? A hyaluronic acid serum is your best friend. It’s famous for holding up to 1,000 times its weight in water, which means instant plumping.
- Looking a little dull? A Vitamin C serum will bring back that brightness.
Gently pat a few drops into your skin until it feels mostly absorbed.
A quick pro tip: Always choose products that work well with the mask you just used. If you did a clarifying clay mask for oily skin, reach for a lightweight, non-comedogenic moisturizer. If you went with a super-rich, hydrating mask, lock it in with a cream that has ceramides or shea butter to really beef up your skin barrier.
Next up is eye cream. The skin around your eyes is incredibly delicate and deserves its own special attention. Using your ring finger—it has the lightest touch—gently tap a pea-sized amount of cream along the orbital bone, moving from the inner to the outer corner.
Finally, the moisturizer. This is your skin’s cozy topcoat. It seals everything in, prevents moisture from escaping, and keeps your skin feeling soft and supple for hours. If you're looking to really dial in your daily product lineup, our guide on building a custom skincare routine has some great advice on picking the perfect products for you.
The One Step You Can't Skip
If you did your diy home facial during the day, there's one last step that is completely non-negotiable: sunscreen.
I can't stress this enough. Your freshly exfoliated skin is more vulnerable to the sun. All the effort you just put into getting that glow can be completely reversed by just a few minutes of unprotected sun exposure.
Always, always finish with a broad-spectrum sunscreen of at least SPF 30. This shields your skin from both UVA (aging) and UVB (burning) rays. This final protective layer is what truly locks in the benefits of your at-home facial, leaving your skin radiant, healthy, and ready for anything.
Your DIY Facial Questions, Answered
Even with the best guide, it’s completely normal to have questions pop up as you create your own spa experience at home. Getting clear answers is the key to feeling confident and making your diy home facial both safe and wonderfully effective. Let's walk through some of the most common things people ask so you can get the best possible results.
How Often Should I Give Myself a Home Facial?
When it comes to a full-on facial with deep exfoliation, think of it as a special treat for your skin. For most people, doing one every two to four weeks is the sweet spot. This lines up perfectly with your skin's natural renewal cycle, which takes about 28 days. Sticking to this schedule helps you avoid over-exfoliating, which can weaken your precious skin barrier.
But that doesn't mean you can't pamper yourself more often! Feel free to work in gentler elements, like a calming, hydrating mask or a relaxing facial massage, once or twice a week. These little rituals are fantastic for maintaining your glow between those deeper treatments.
Should I Try to Do My Own Extractions?
This is one area where I have to be firm: please, leave extractions to the professionals. I know how tempting it is to try and "fix" a blackhead or pimple on your own, but it's a risky move. Without the proper sterile tools and an esthetician's trained touch, you can easily push bacteria deeper into the pore.
Doing so can turn a small issue into a much bigger one, leading to severe inflammation, infection, and even permanent scars or broken capillaries. It's just not worth it.
Instead, focus on managing congestion with smarter, safer methods. Consistently using clay masks and chemical exfoliants with salicylic acid (BHA) will work wonders to keep your pores clear without the risk of damage.
A DIY facial should be about nourishing and improving your skin, not creating new problems. Resisting the urge to perform your own extractions is one of the most important rules for achieving beautiful, healthy skin long-term.
What if My Skin Gets Red or Irritated Afterwards?
First things first, don't panic. A bit of temporary pinkness after stimulating your skin with massage or a mask is often perfectly normal. But if your skin feels hot, itchy, or looks genuinely angry, it's time to pause and give it some TLC.
If you experience irritation, here's what to do:
- Simplify Your Routine: Immediately stop using all "active" ingredients. That means putting away the acids, retinoids, and vitamin C serums for a few days until your skin calms down.
- Cleanse Gently: Wash your face with a mild, fragrance-free cleanser and use only cool or lukewarm water.
- Soothe and Repair: Reach for a simple, calming moisturizer. Ingredients like ceramides, centella asiatica (also known as cica), or panthenol are excellent for repairing the skin barrier.
- Protect from the Sun: Keep your face out of direct sunlight and be extra diligent with a gentle, mineral-based sunscreen.
Mild redness usually fades within a few hours. Understanding what to expect after a facial can help you tell the difference between a healthy glow and actual irritation. If the redness is severe or persists for more than a day or two, it’s always best to check in with a dermatologist.
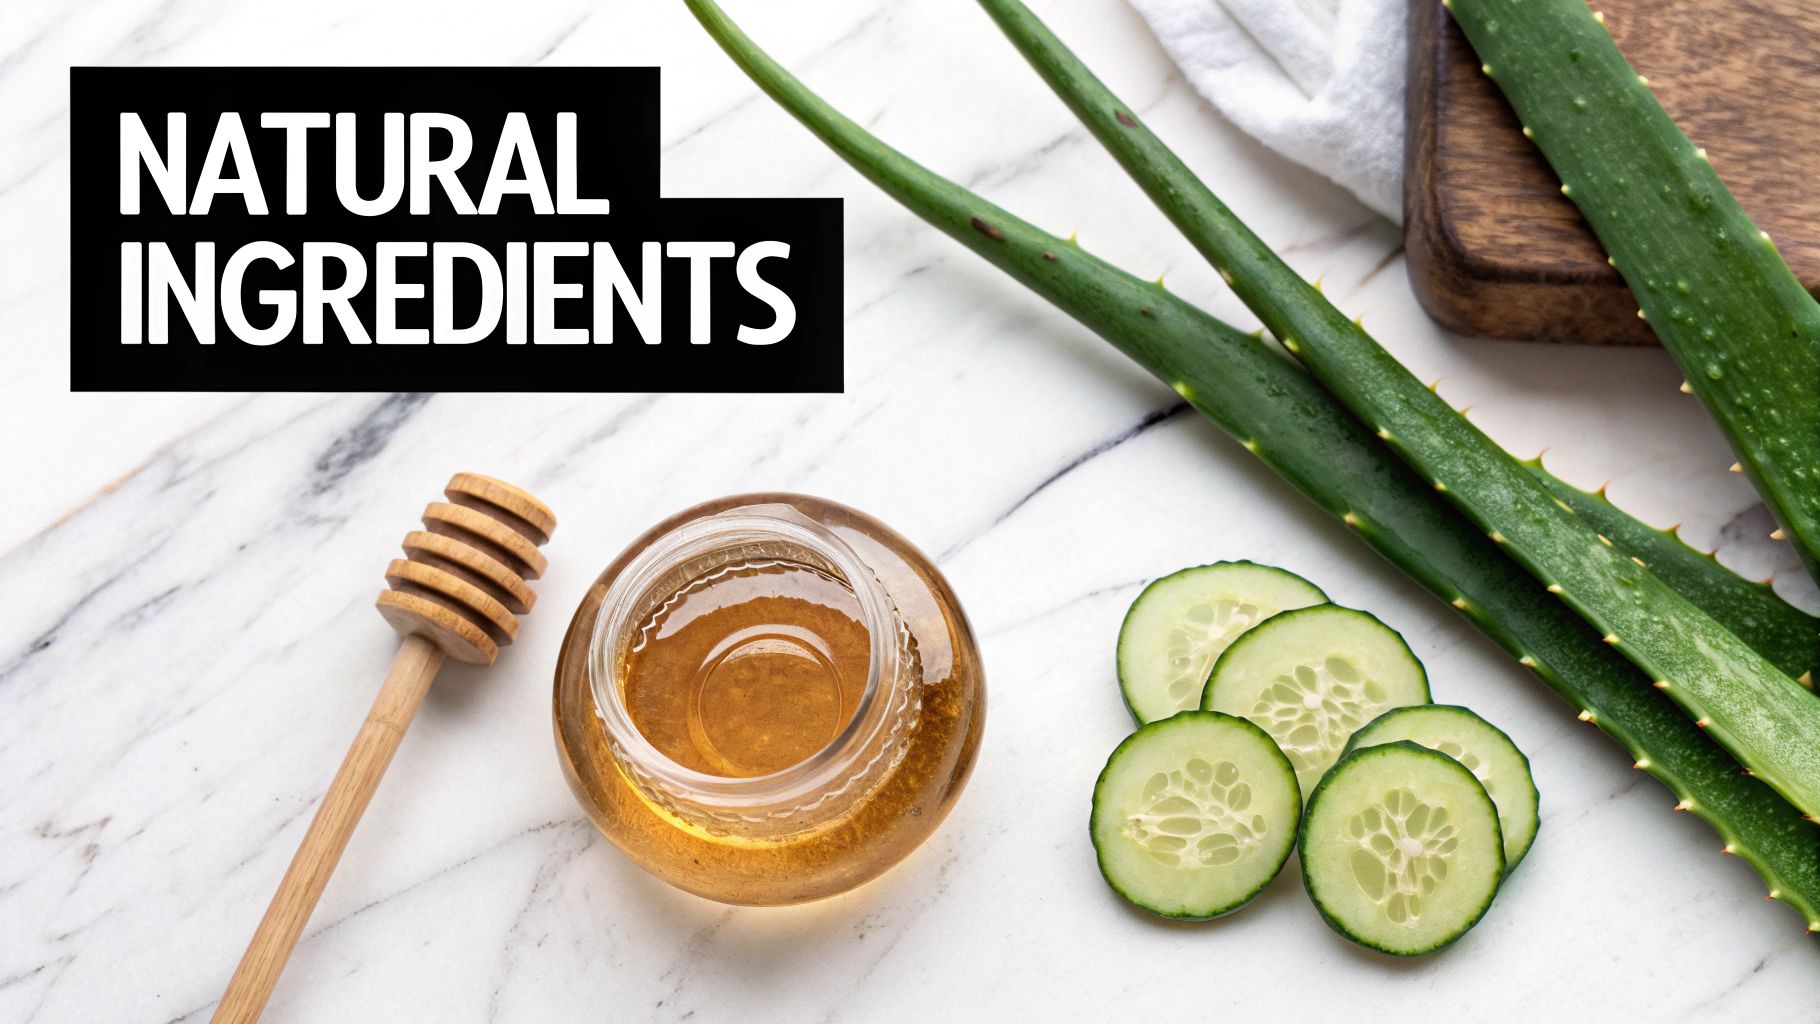
What Are the Best Ingredients for a DIY Facial?
This is the fun part! The real beauty of a home facial is that you get to hand-pick ingredients for your skin's exact needs.
For exfoliation, glycolic acid (AHA) is a star for improving skin texture and brightness, while salicylic acid (BHA) is unmatched for getting into pores and clearing them out. When it comes to treatment and hydration, look for powerhouse ingredients like hyaluronic acid for a plump, dewy look, niacinamide to help with redness and the appearance of pores, and vitamin C for its brightening benefits.
And don't forget about nature's own solutions! Ingredients like manuka honey (antibacterial), colloidal oatmeal (incredibly soothing), and green tea extract (a potent antioxidant) are all fantastic, proven choices for a home facial.